A Visual Guide to Antialiasing in Messiah Studio
If your new to messiah, one of the things that will mostly cause you lots of heads spin is the different AntiAliasing methods and AntiAliasing patterns. For people coming from different packages, these are not your usual Gaussian or Mitchell AA patterns, the messiah patterns are not different in what they do from other known patterns or AA routines, they are simply other routines, each routine has it's own advantage and disadvantage, just as a Gaussian Routine has dis/adv from a Mitchell or a Box routine. So which one should be used, and which combination of AA Method with AA Pattern should be combined. Instead of going into explaining how AA Method works and how the Patterns plays a big role on the final image, I'm going to be showcasing the different combinations through a series of test renders, after all a picture is is worth a thousand words.
I'll first explain a few things about the tests
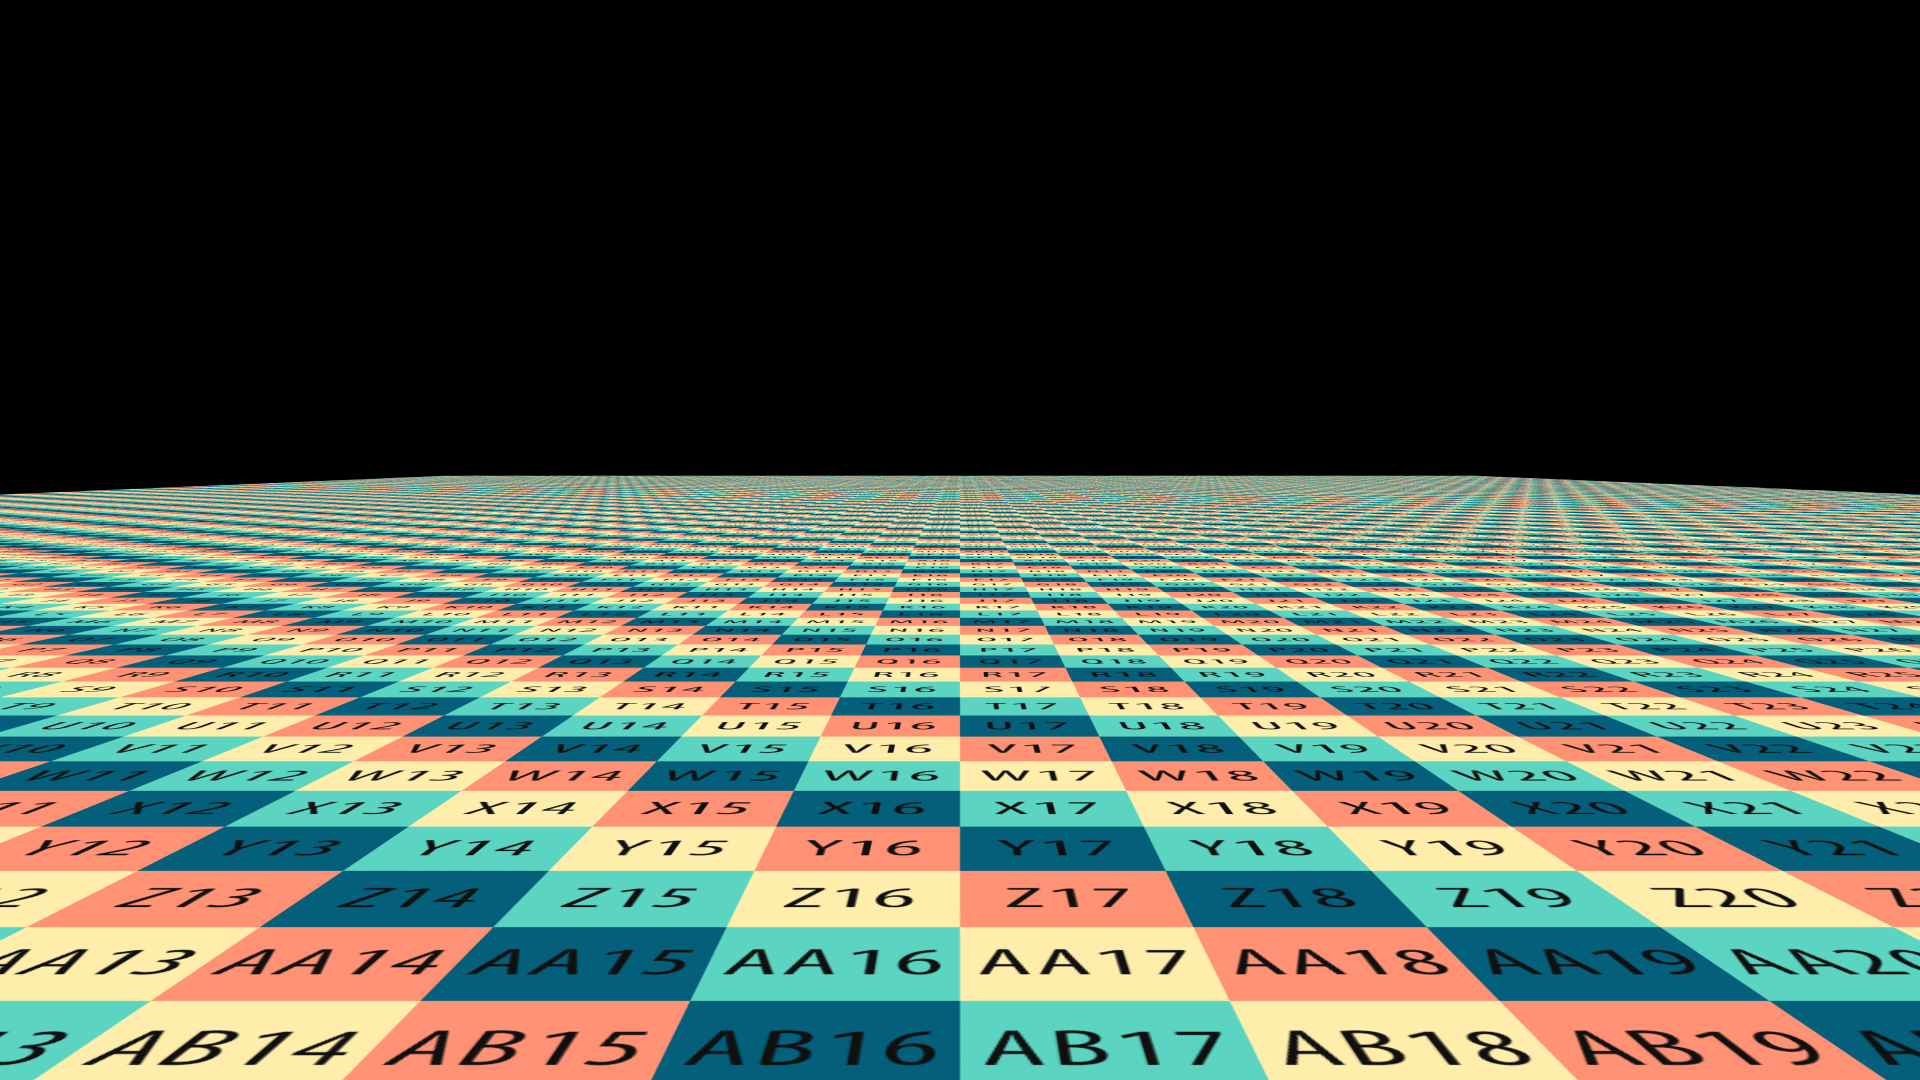
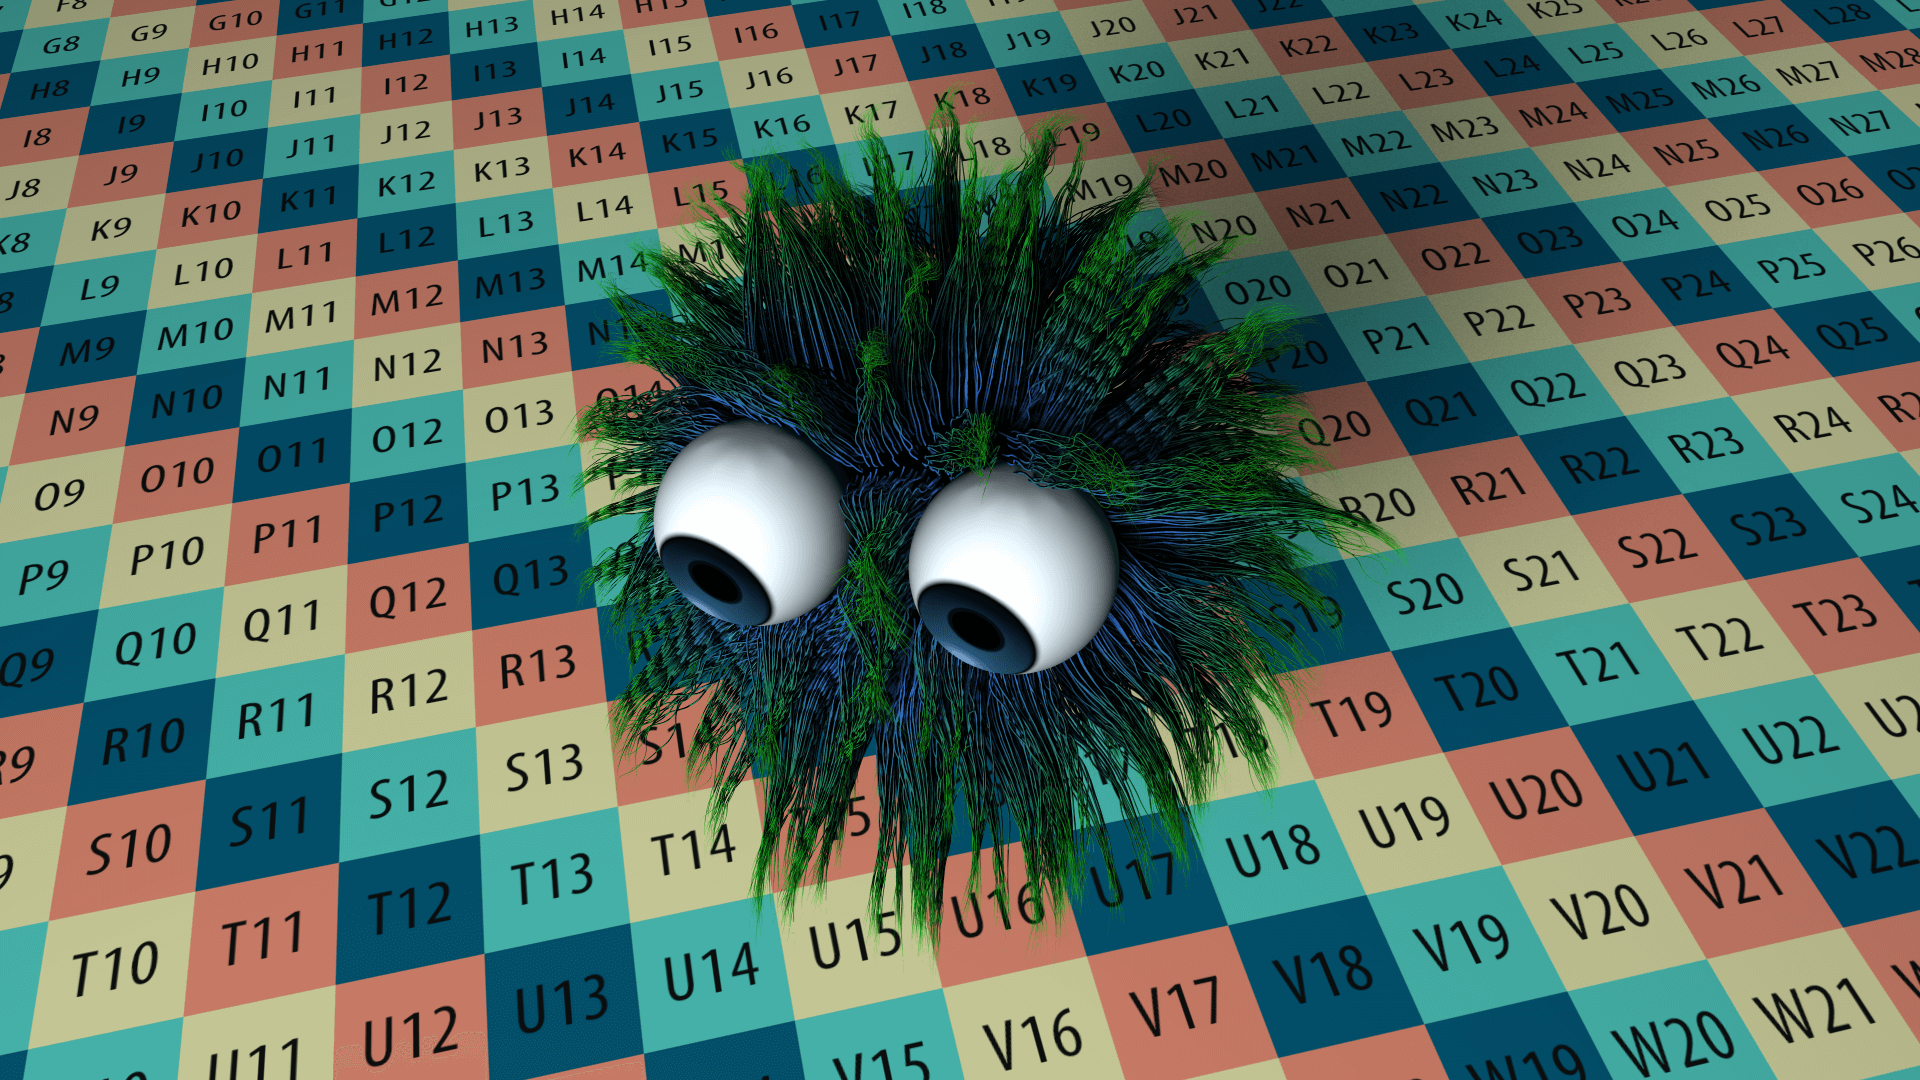
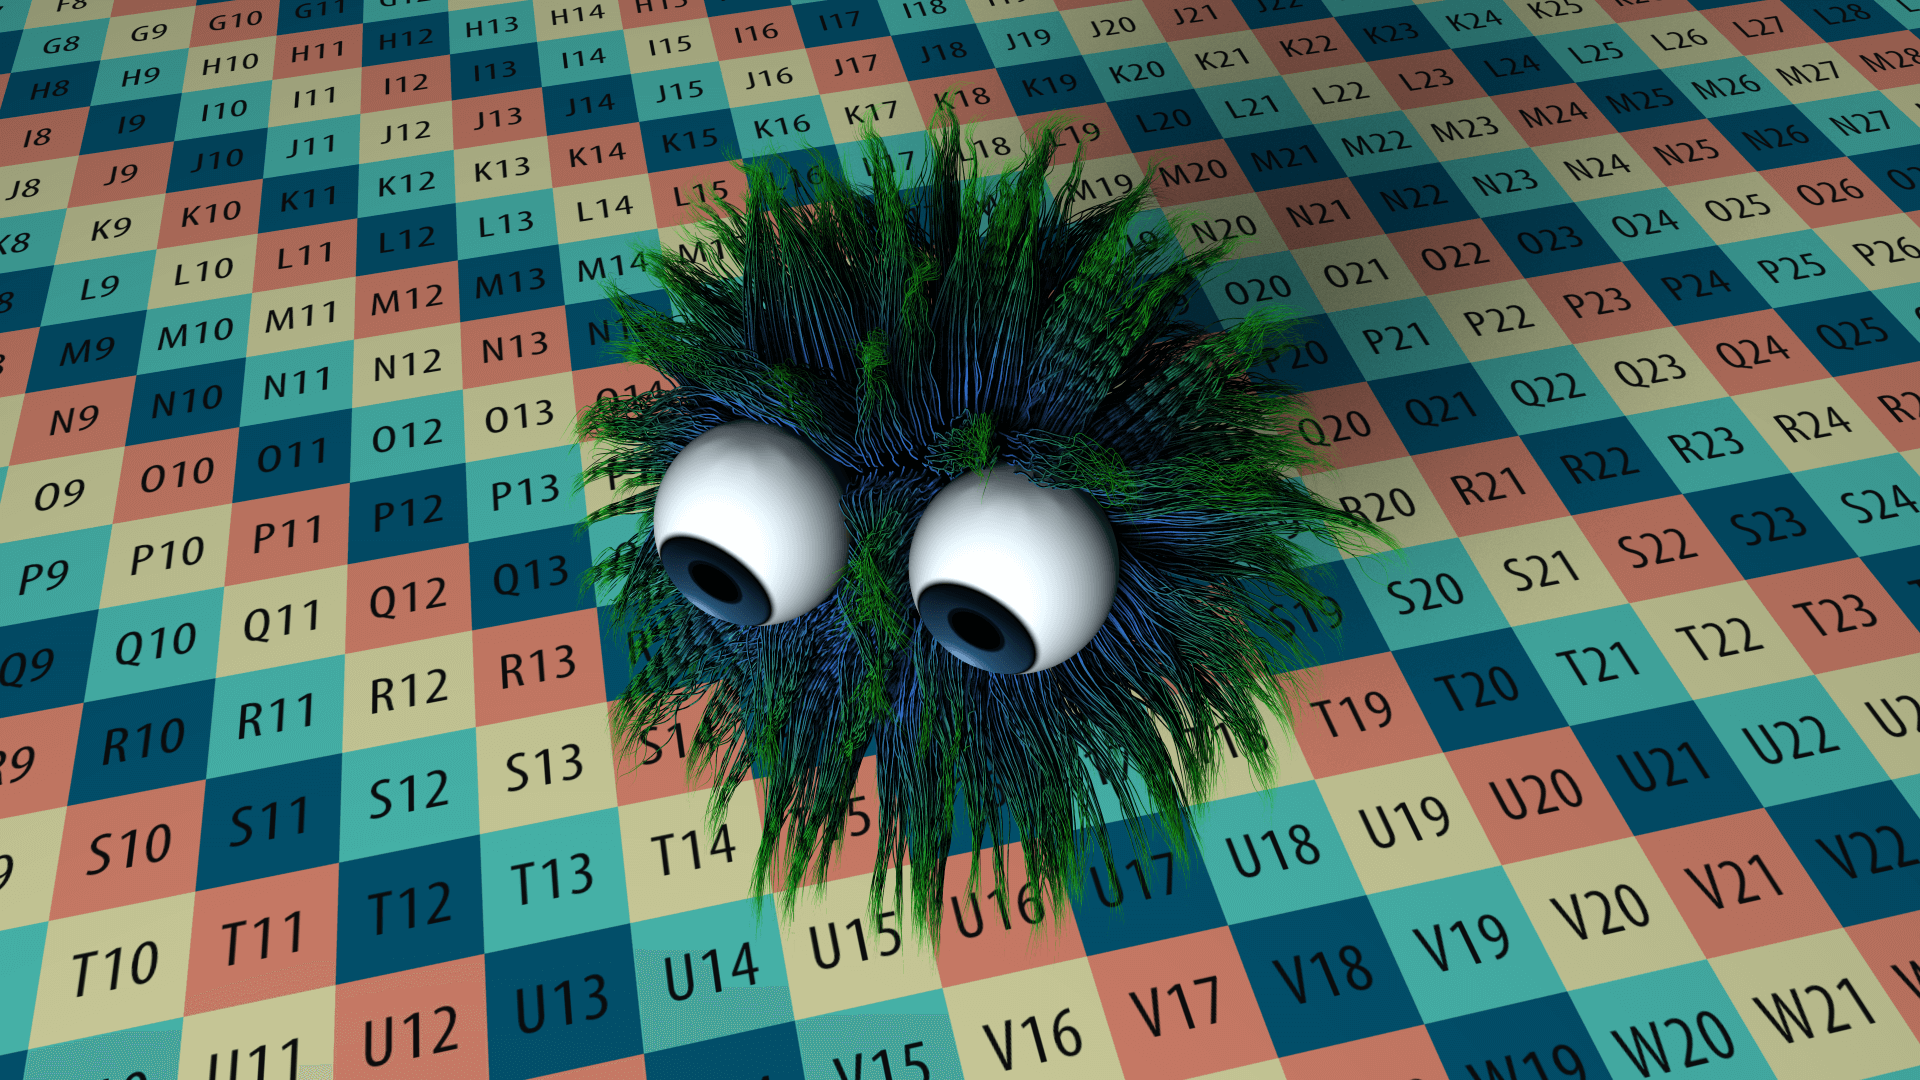
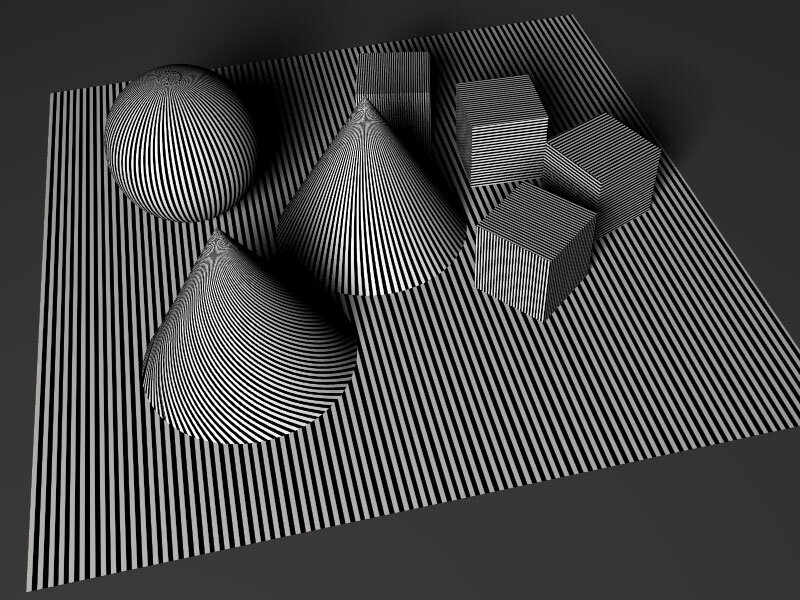
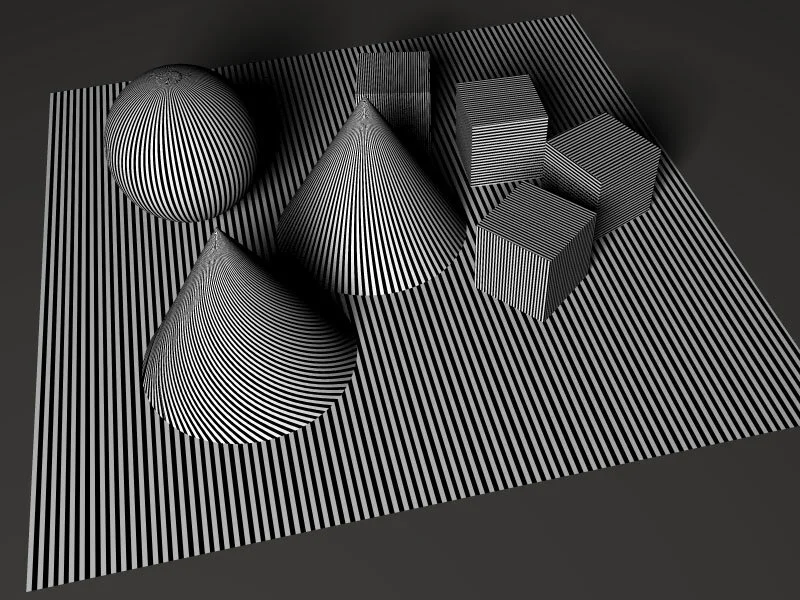
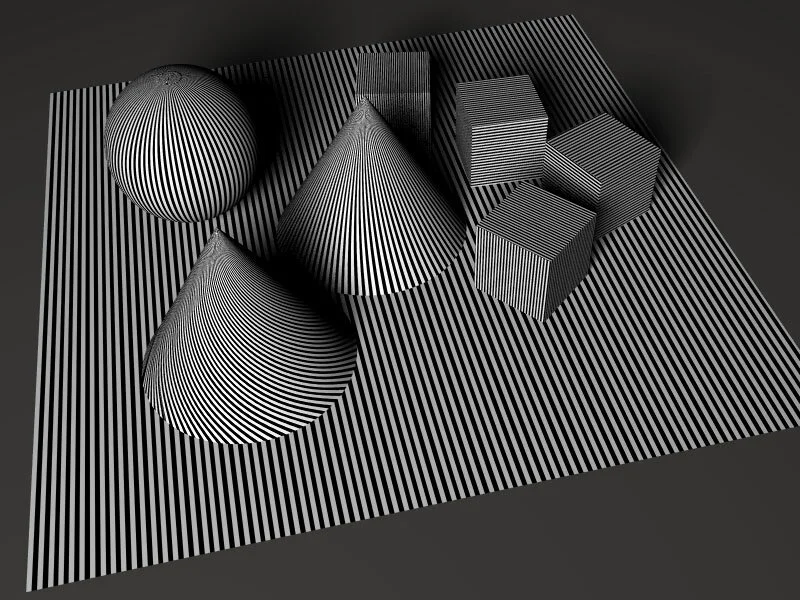
The Test Scene: The scene is comprised of basic geometry, with a texture pattern suitable to showcase the effect of Aliasing. The placement and orientation of the texture on individual objects is crucial to test how each Method and Pattern hold. Eventually this will show where each method and pattern works best.
The Scene Rendering Parameters: I'm using a Level 4 AA , with a threshold of 0.007 and a size 1. The level is a medium level AA and is suitable for most generic renders. The threshold is decreased because of the nature of the texture and the size of the AA controls the sharpness.
You should use this guide as a visual reference when ever you want to have a good starting point, or when ever you find something that doesn't look like in your render. in most cases increasing the level of the AA will remove the artifacts and will give you a cleaner looking render. Don't double the basic level 4 that is used in these tests as a first attempt, instead increase it slowly, because increasing it will have a great effects on the final render time.
1. Adaptive Antialiasing


1.1. Adaptive Antialiasing Study
To see the difference between these different patterns when used with adaptive, we'll compare each section separately.
Horizontal Lines:

You'll notice that the visual difference in the horizontal lines isn't very apparent, and most of the do a pretty good job
Vertical Lines:

The Vertical Lines is where things become different, Halton and RG are the most efficient with vertical textures when used in Adaptive mode
Curved Surfaces:

Here we can see clearly that Halton produces the smoothest result, with a small increase in AA level, we can achieve a perfect quality.
2. Enhanced Antialiasing


1.1. Enhanced Antialiasing Study
To see the difference between these different patterns when used with Enhanced, we'll compare each section separately.
Horizontal Lines:

You'll notice immediately that the enhanced method is doing a much better job than the adaptive in retaining the lines, again though the different patterns are almost close in representing the same artifacts in horizontal lines.
Vertical Lines:

Again the Enhanced is much better in removing allot of the noir effect from the texture, with regular, jitter and poisson DR being the weakest. pay attention on how the soft shadow is being affected as well
Curved surfaces:

With curved surfaces Halton seems to hold the most, with random being the weakest.
3. Enhanced SS Antialiasing


3.1. Enhanced SS Antialiasing Study:
1. Horisontal Lines:

2. Vertical:

3. Curved Lines:

4. Enhanced Wide Antialiasing:


4.1. Enhanced Wide Antialiasing Study:
1. Horisontal Lines:

2. Vertical Lines:

3. Curved Lines:

5. Putting it all Together:
By now most of you have skipped the last two section, and i don't blame you, because it can get confusing and overwhelming, and it's why i didn't talk about each experimental method.
But also by know you know where to look and how to estimate which method and pattern is best suited for your own work. and to have a better understanding of them all, we'll have each method and pattern against each other for a final judgement.
1. Horisontal Lines:

The first immediate observation tells us that the experimental Methods produce a brighter and shaper results, they also require more antialising level to remove the noir effect from the texture. but almost all 4 hold pretty well in horizontal pattenrs
2. Vertical Lines:
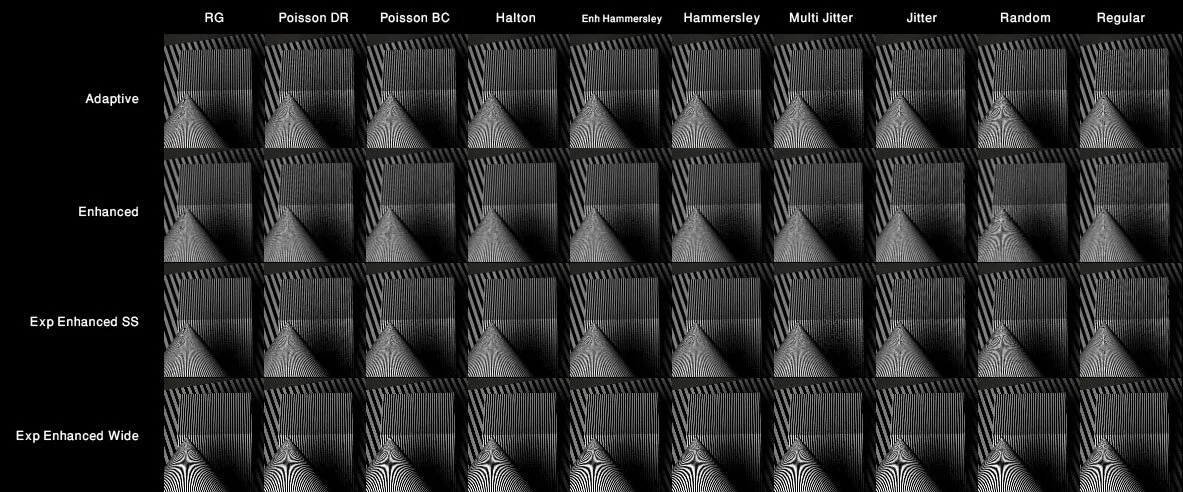
The visual difference is much more evident with the vertical texture as always, and we'll notice how the exp Enhanced Wide produces really sharp contrast in the final image, and it does a good job retaining the straightness of the vertical lines.
3. Curved Lines:

again we'll notice how bright and sharp the image is using the Expermintal Methods, of course it needs a higher AA Level to remove the Aliasing effect, since it's not forgiving like the older method nor does it smudge the pattern to hide the artifacts.
6. Conclusion:
Now that our little guide comes to an end, i'll just highlight a few important thing. The texture used in these tests is extreme for testing purposes only, most of the textures you'll be using wont have this strickt pattern, thus level 4 can be a good starting point and in most cases you can get away with it. if how ever your texture is causing problem, use this guide to figure out which pattern and method is best suited, and start increasing the AA level 1 by 1.
You might have also noticed that AA methods and patterns are not just for texturing, they can also have a huge impact on the final look of the image in terms of brightness and sharpness, so keep that in mind to achieve the look that you want.
and lastly the threshold and size of the AA, the threshold can be any number, the smaller it is, the more contrasting difference in neighboring pixel will be taken into account when Antialiasing the texture or objects edge, thus the more sharp and artifact apparent. so you'll need to increase the AA level accordingly. 0.007 is a good very low value, try not to go below that, because you'll need allot of AA level to fix it. as for the size, it basically the size of the area where the AA is being done and tested. a value of 1 will insure you'll have a decent sharp image. a value of 2 will give you blurry image.
This guide reflects my own experimentation and understanding with messiah, it is not a technically accurate one, so don't take my word for word, and don't be afraid to experiment and try different value.
I hope by now you have a better understanding of messiah's Antialising and the different options available for you, don't be afraid to ask if you got into trouble or need clarification.
