Markers
RenderMan Stylized Looks Presets | Markers
This style captures the eye-catching vibrancy and bold textures of marker drawings. It features slightly translucent layers and visible blending techniques, creating a sense of depth and a playful, hand-drawn quality that adds a touch of whimsy.
1. Scene Setup

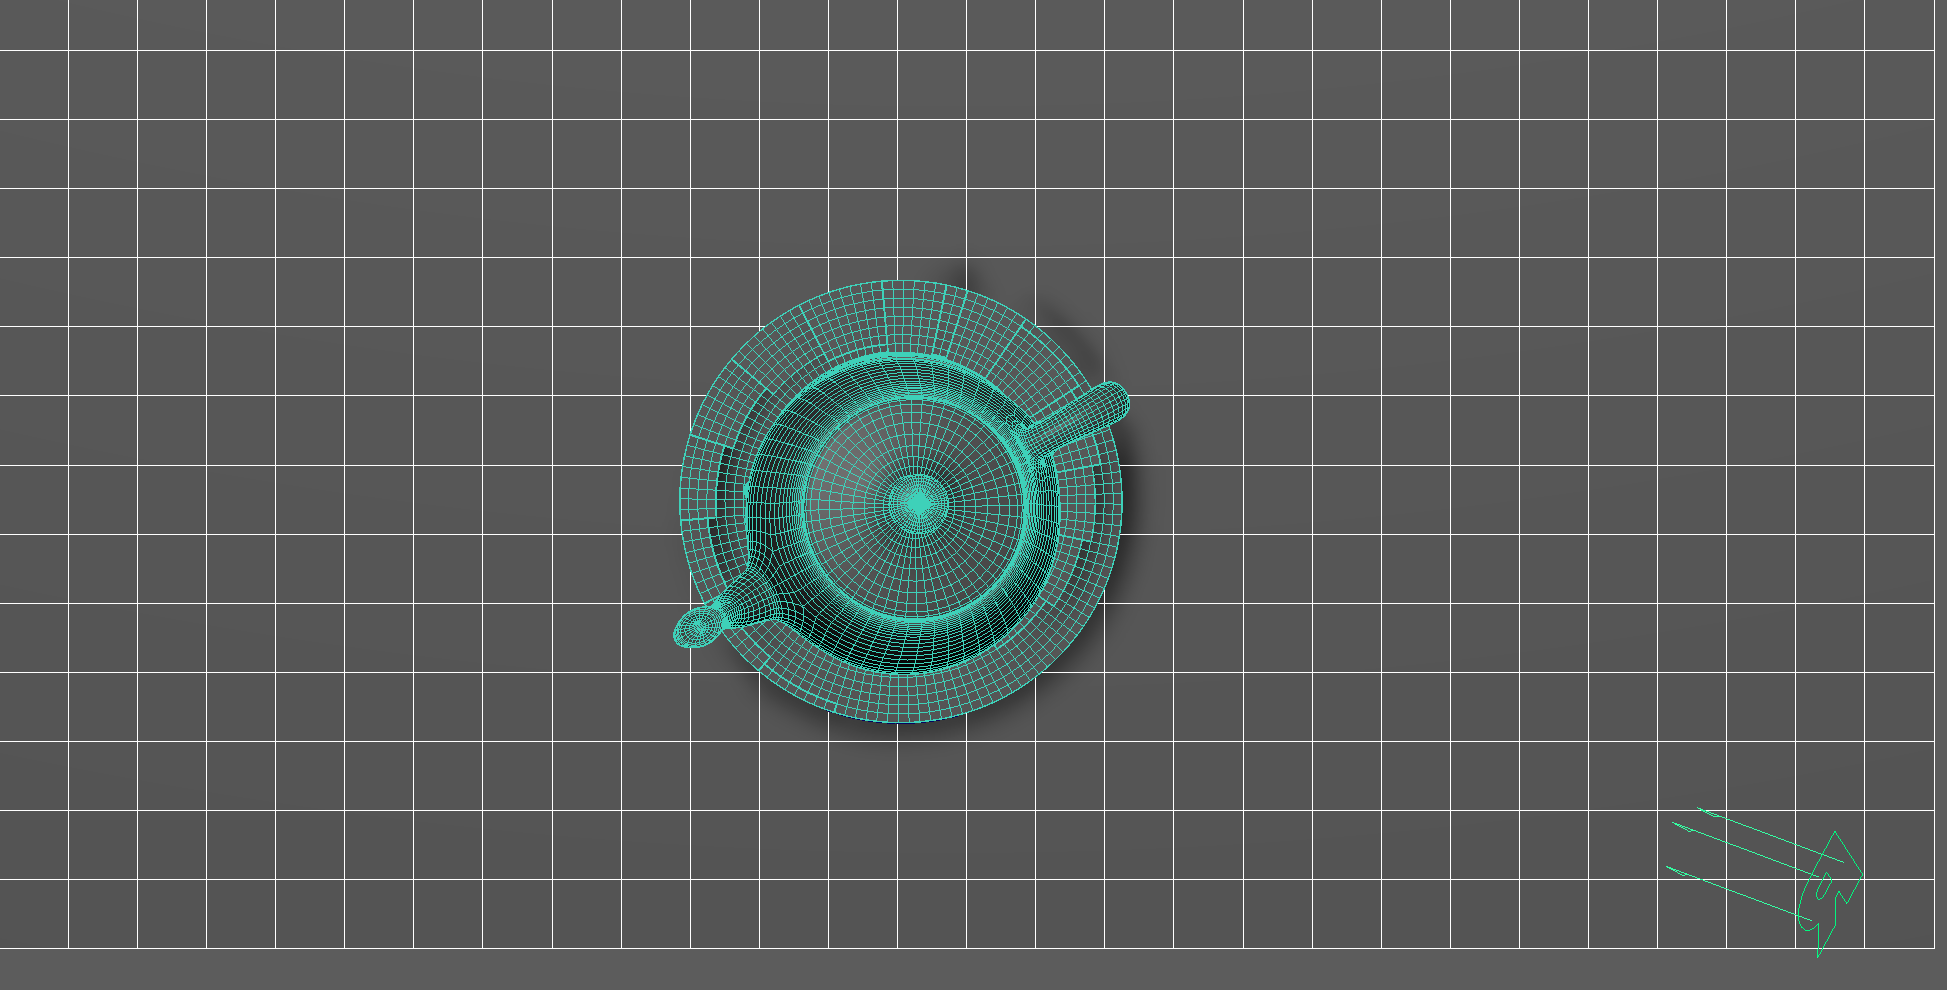
The scene setup is composed of a single light source with basic material applied for each object.
The bulk of the setup work happens in the editing for each individual PxrStylizedControl node as we’ll explain in the next section.
2. Material Setup
The PxrManifold arrangement along with the two fractal nodes is the standard setup for all of my stylized shading looks. And they are the standard for all of the artistic presets in this pack. I might add additional nodes such as the bump map to control the PxrStylizedToon output and various fractal or worley nodes to control the line width and line masking depending on the desired look.
For Maya I have created scripts that either plug a PxrManifold2D into an existing PxrStylizedControl or allows me to call out the attribute of PxrStylizedControl or PxrManifold2D from an object as I tweak those controls constantly while developing the looks. You can download these scripts from this github repo.
The shading network is controlled from the PxrStylizedControl node with:
PxrManifold2D as I’ll be driving the mapping of the brushes using the surface UV, and also to fine tune the the frequency of the hatching for individual objects.
A PxrFractal node that are used to distort the line-work on U and V.
A PxrFractal is plugged into the line thickness to vary the line width of our line art.
A bump map is used to vary the shading zones when using PxrStylizedToon
3. AOVs and LPEs
In Addition to the default Stylized Looks AOVs, this preset requires an additional directDiffuse channel from the main light. The reason we require this is for the PxrLightSaturation_Desaturate display filter and it requires an AOV to function on and I didn’t want to use the beauty pass.
keyDirect
A standard direct diffuse AOV that was renamed to keyDirect and selecting the single key light in the scene.
lpe:C[DS]<L.'key'>4. Stylized Layers
The color palette for this style is very colourful and saturated. I start almost from the middle of a color in terms of saturation and value. As the layering system will produce the desaturated and less value colors (less overlapping strokes) to the more darker and saturated colors (multiple stroke passes)
To achieve the markers look the display filters are composed of the following categories layered in order:
1x PxrStylizedToon filter to produce the desired toon stepping AOV. It will be used as a signal for specific hatching filters downstream.
5x PxrStylizedHatching filters produce describe the marker brush look.
2x PxrStylizedLines filters to produce the desired line-work.
1x PxrLightSaturation filter for effects.
1x PxrGradeDisplayFilter filter for effects.
These layers are showcased and described below:
0. Beauty Pass
This is the Beauty pass for the render without applying any Stylized Filters.
For this Style the beauty pass is important as the colours used in the presets are read from this Beauty pass.
Since we are not incorporating specular or transmission elements in our renders, the Beauty pass and Diffuse AOV remain identical in this instance. Therefore, you have the option of selecting the Diffuse AOV within the initial light response filter.
1. PxrStylizedToon - Shading
The PxrStylizedToon layer controls the toon stepping, range, and softness in this filter, which influences downstream operations. Typically, I set these properties as the base.
With this preset, the shading resembles the diffuse AOV because the stepping is softened, which is how I wanted the final shading to appear.
It's important to note that in the initial R&D of this preset, the steps were more prominent and sharp. However, as I developed the look, I opted for softer shading. This softness allows for artistic control if a piece requires sharper light to shadow transitions. It's easier to modify one parameter and have a cascading effect rather than introducing a new layer into the process.
2. PxrStylizedHatching - Primer
The initial PxrStylizedHatching layer serves as a primer to facilitate painting colors. It transforms the entire image into a black-and-white canvas, providing a foundation for subsequent coloring.
In most presets, e.g. Artbook Sketching PxrStylizedHatching - Fill layer, the primer tends to be bland and eliminates shadowy areas, as shadows are introduced later in the process.
However, in this particular preset, I sought to achieve the effect of multiple marker pen lines visible to influence coloring downstream.
Keep in mind that this is a personal workflow, and there's no one-size-fits-all approach to creating stylized looks. The Fill or Primer layer is a recurring element in most, if not all, of my presets. I encourage you to experiment and develop your style to find what works best for you.
3. PxrStylizedHatching - Color Base
In this layer, we begin incorporating colors into our preset. The colors are derived from the albedo AOV, which lacks inherent shading. We utilize the signal energy (lighting response layer) to drive the Beauty pass, determining which areas are dark and which are light.
Our current Beauty pass encompasses all the lighting and shading up to layer #2. To gain a deeper understanding of Stylized Looks, try disabling the PxrStylizedHatching - Primer layer while keeping this layer and the PxrStylizedToon only. By doing so, you can observe the effect of reading from a beauty channel that resembles the diffuse and how the Primer layer plays its role in this preset.
4. PxrStylizedHatching - Color Multiply
Our goal is to incorporate more color into this layer. The current color layer has faint colors. By adding this layer on top with a multiply composite mode, we can control the intensity of the additional color.
Pay attention to the source energy signal. It's the signal from the PxrStylizedToon output AOV (the black and white version). We want to start introducing shading in this layer, hence the use of this signal.
Tip: If you're aiming for flat artwork without shading, you'll need to adjust the signal energy source in this layer.
5. PxrStylizedHatching - Shading
By layering the diffuse AOV in multiply mode, we can introduce more shading. If you prefer a flat toon shading style, you can experiment by disabling this layer or changing the source of the light signal energy to the Beauty AOV.
Theoretically, you can achieve this look with just one PxrStylizedHatching. However, using a single layer limits your options and prevents you from precisely controlling each aspect of the image. In contrast, with this preset, each layer gradually contributes to the subsequent layers. This setup gives us more control over the intensity of the effect this layer has on the preceding ones.
6. PxrStylizedHatching - Shadows
The source color of the shadow layer is black. The location from which you want your shadow to be influenced is crucial because it determines the final look of your image.
In this preset, I have used the output of PxrStylizedToon AOV as the signal energy. Alternatively, if I only wanted the distinct, hard shadows cast by the distant light, I could create an LPE shadow AOV and use that as the signal energy (remember to invert the signal energy in this case).
To achieve a flat look with no shadows, disable this layer.
7. PxrStylizedLines - Curvature
As the initial and primary layer, I typically choose the main line layer and set its type to be derived from the Curvature Analysis of Variance (AOV). This selection enables us to capture most of the intricate inner details and serves effectively as a baseline layer.
8. PxrStylizedLines - Texture
The second layer function can serve different purposes. It can be used to capture additional details not captured by the main layer, such as full outlines. Alternatively, it can act as a second line layer. This layer simulates a second tracing over some lines, using different widths, distortions, and types.
Personally, one line pass is often insufficient. This may be because of the inherent nature of the process or because PxrStylizedLines are enjoyable and straightforward to layer. Consequently, I frequently end up creating multiple line layers.
9. PxrLightSaturation - Desaturate
Layers numbers 9 and 10 serve the specific purpose of avoiding post-production color correction by ensuring that all necessary work is completed within the final rendered image.
This layer will control the saturation of the overall image.
10. PxrGradeDisplayFilter - WhitePoint
Similar to layer 9, layer ten helps with exposure control in the final rendered image, eliminating the need for compositing to achieve the desired result.
Render It Out.
Once all passes are set up, you are prepared to start rendering your childhood illustrations. Happy rendering!
Turntable using the default preset import
Turntable using different signal energies


