Dashed Lines
RenderMan Stylized Looks Presets | Dashed Lines
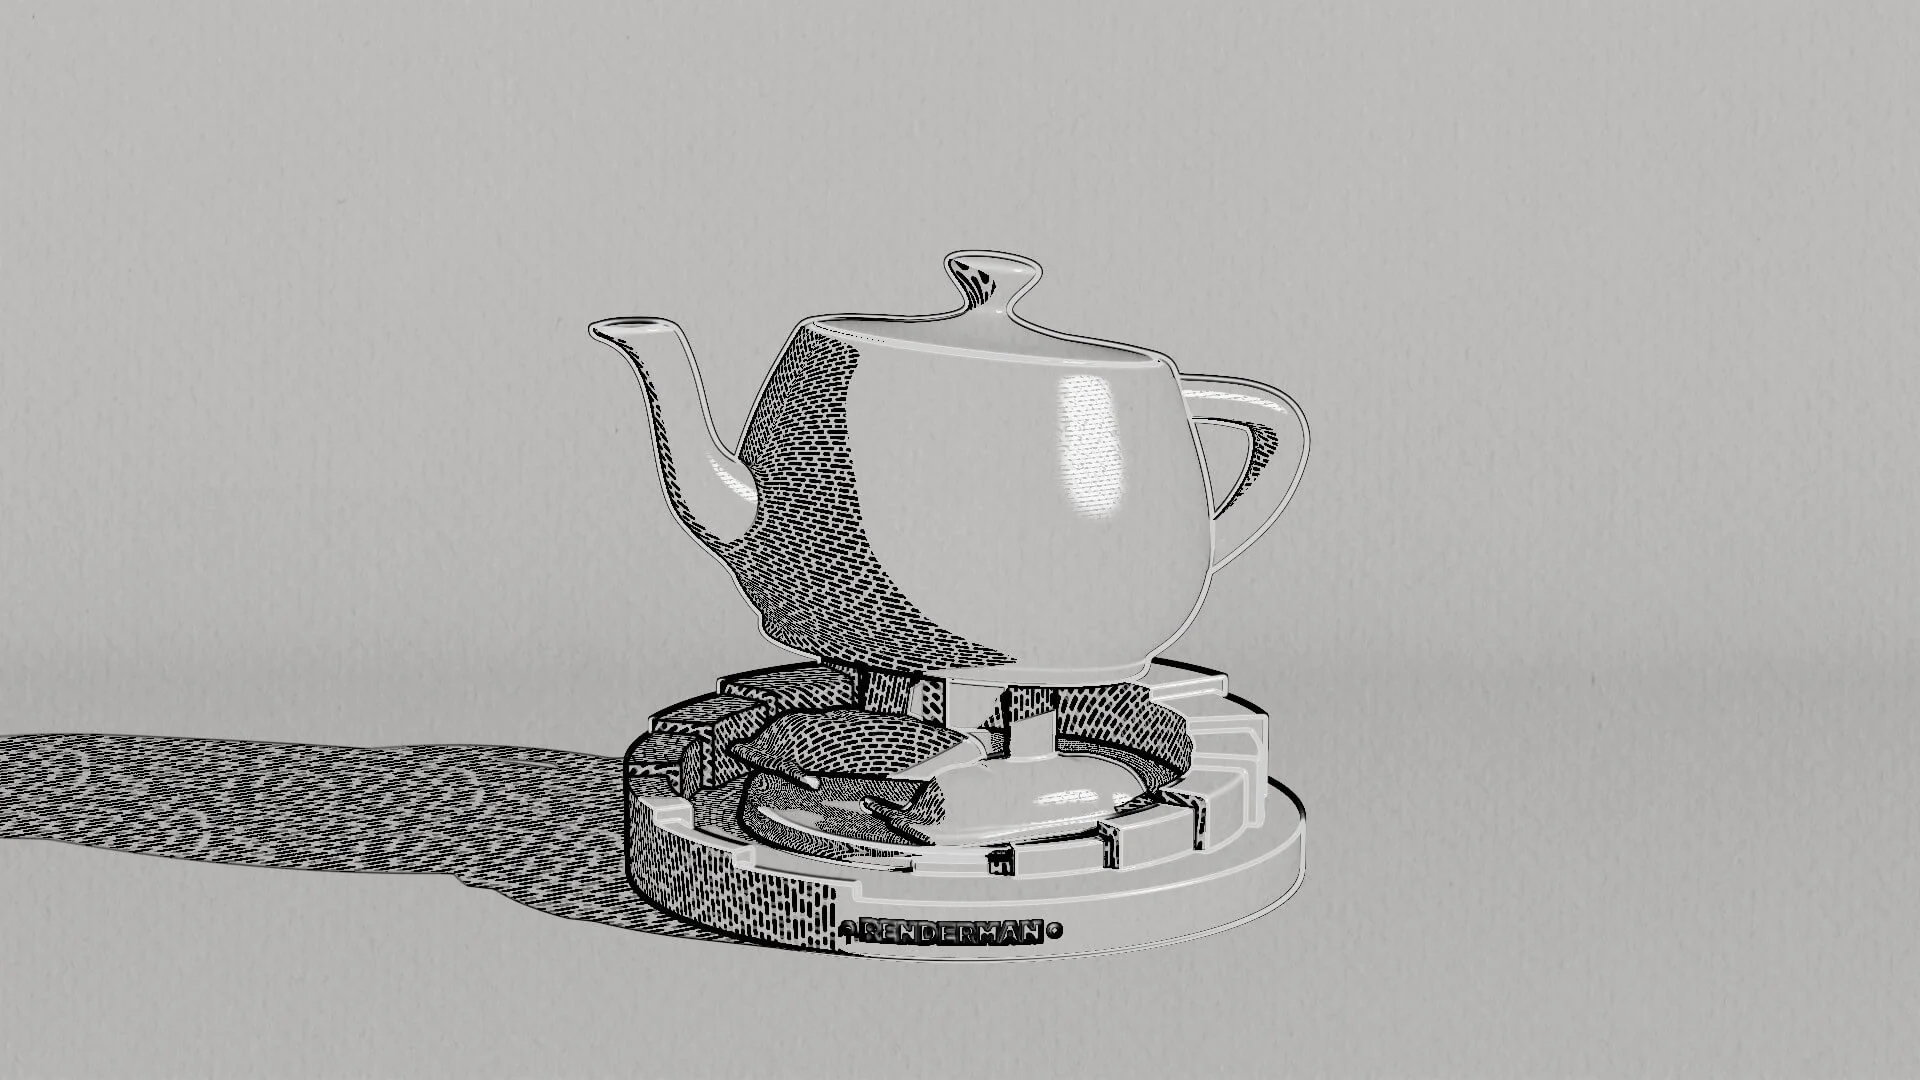
This style uses a series of short, dashed lines to create shading and depth, allowing for precise control over variations in tone. The density and placement of the dashes create a unique stylized look with a textured, hand-crafted feel.
1. Scene Setup

The scene setup is composed of a single light source with basic material applied for each object.
The bulk of the setup work happens in the editing for each individual PxrStylizedControl node as we’ll explain in the next section.
2. Material Setup
This shading setup is the standard setup for all of my stylized shading looks. And they are the standard for all of the artistic presets in this pack.
For Maya I have created scripts that either plug a PxrManifold2D into an existing PxrStylizedControl or allows me to call out the attribute of PxrStylizedControl or PxrManifold2D from an object as I tweak those controls constantly while developing the looks. You can download these scripts from this github repo.
The shading network is controlled from the PxrStylizedControl node. there are a few elements there:
PxrManifold2D as I’ll be driving the mapping of the brushes using the surface UV, and also to fine tune the the frequency of the hatching for individual objects.
2x fractoal nodes that are used to distort the line-work on U and V.
A PxrWorley is plugged in in-case we want to vary the line width of our line art.
3. AOVs and LPEs
There is a single LPE AOV for the Shadow pass. This will be fed into one of the PxrStylizedLines to give outline for the shadow parts of the image.
directDiffuse
An additional directDiffuse standard AOV is required, so create one.
directSpecular
An additional directSpecular standard AOV is required, so create one.
LPE Shadow
Create a regular shadow pass from all lights. Since we have only one light in the scene you don’t have to specify which light in the LPE
lpe:shadows;C[DS][<L.>O]4. Stylized Layers
The color palette for this style is Beige. So all surface materials share the same color without any difference in value or saturation.
To achieve the illustration look the display filters are composed of the following categories layered in order:
1x PxrStylizedToon filter to produce the desired toon stepping AOV. It will be used as a signal for specific hatching filters downstream.
1x PxrStylizedHatching filters produce describe the dashed lines.
5x PxrStylizedLines filters to produce the desired line-work.
1x PxrStylizedHatching filter for the specular highlight.
These layers are showcased and described below:
0. Beauty Pass
1. PxrStylizedToon - Shading
2. PxrStylizedHatching - Dash
3. PxrStylizedLines - Outlines
4. PxrStylizedLines - Features
5. PxrStylizedLines - Details
6. PxrStylizedLines - Light
7. PxrStylizedLines - Shadows
8. PxrStylizedHatching - Direct Specular
Render It Out.
Once all passes are set up, you are prepared to start rendering your childhood illustrations. Happy rendering!


