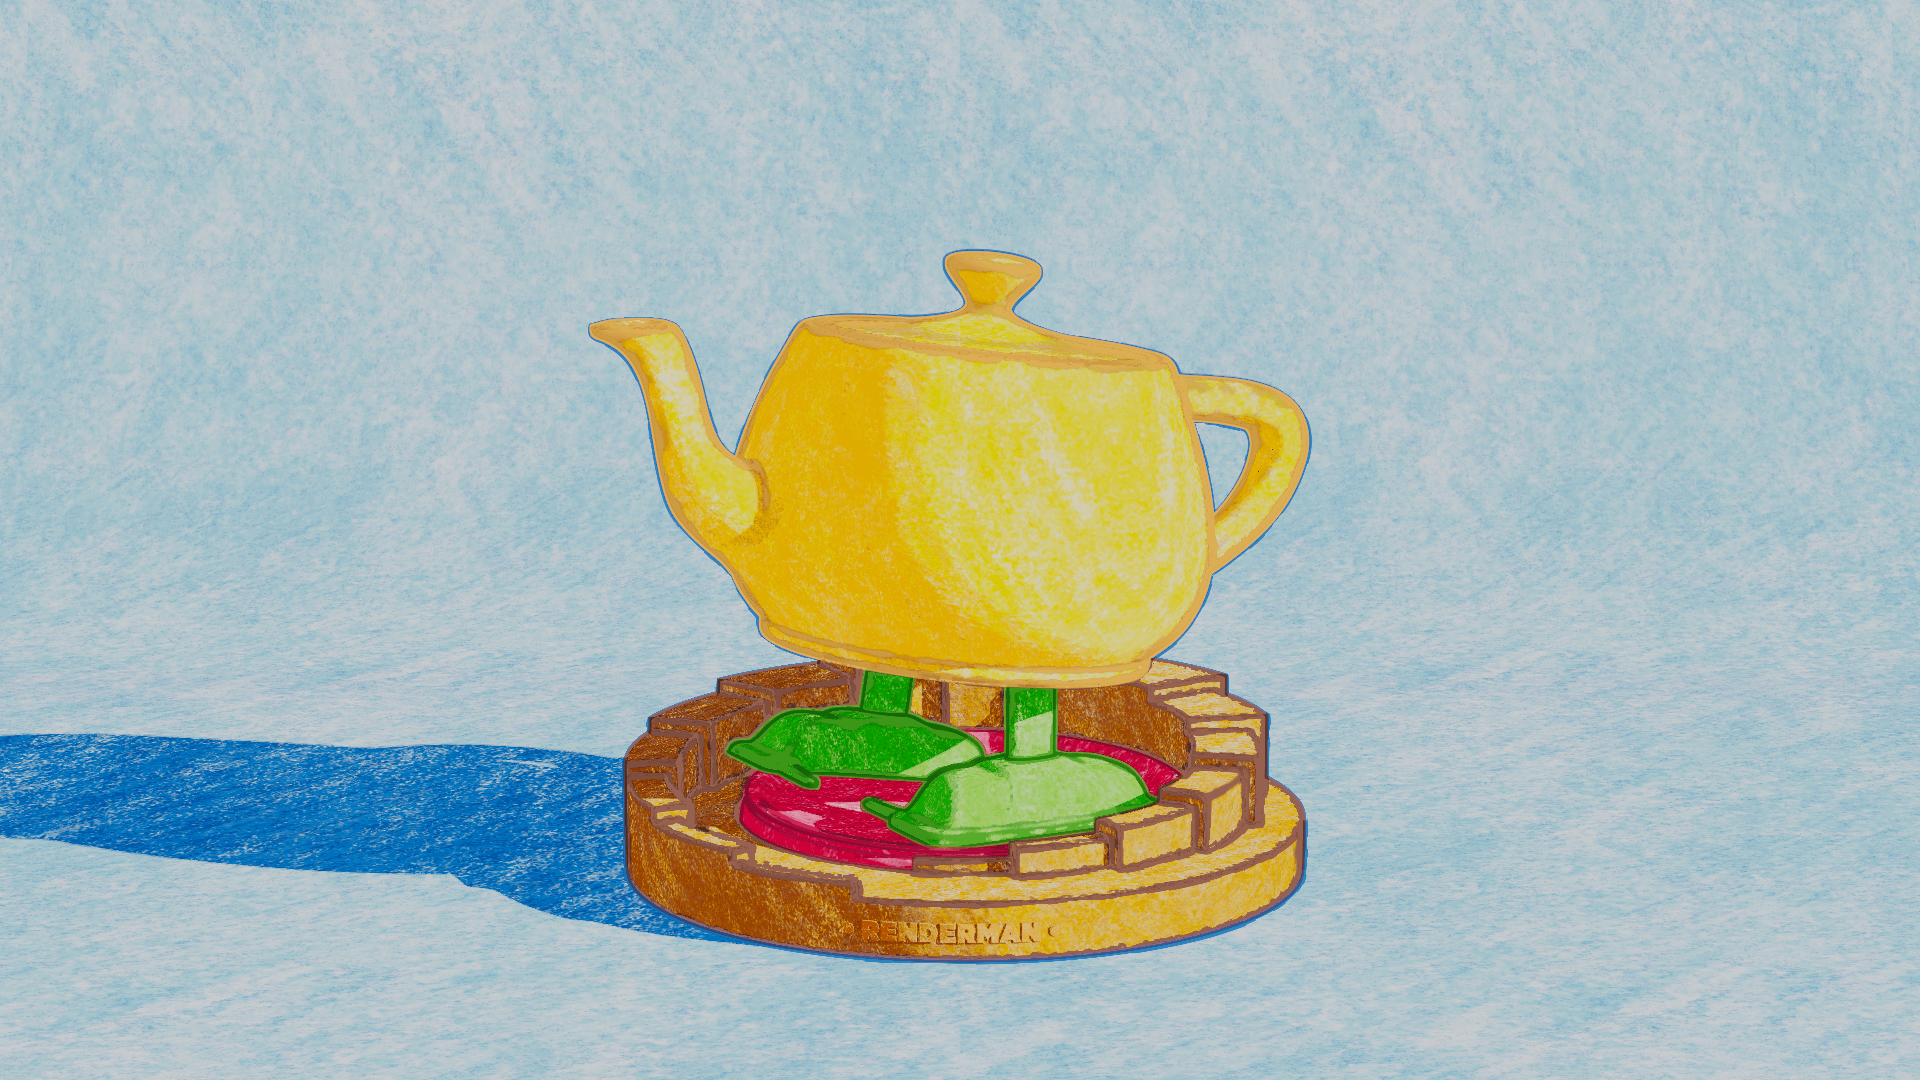
Crayon
RenderMan Stylized Looks Presets | Crayon
Brings to life the playful textures and vibrant colors of childhood drawings, made with waxy crayons. It captures the whimsical charm of lines that wander and colors that boldly clash.
1. Scene Setup
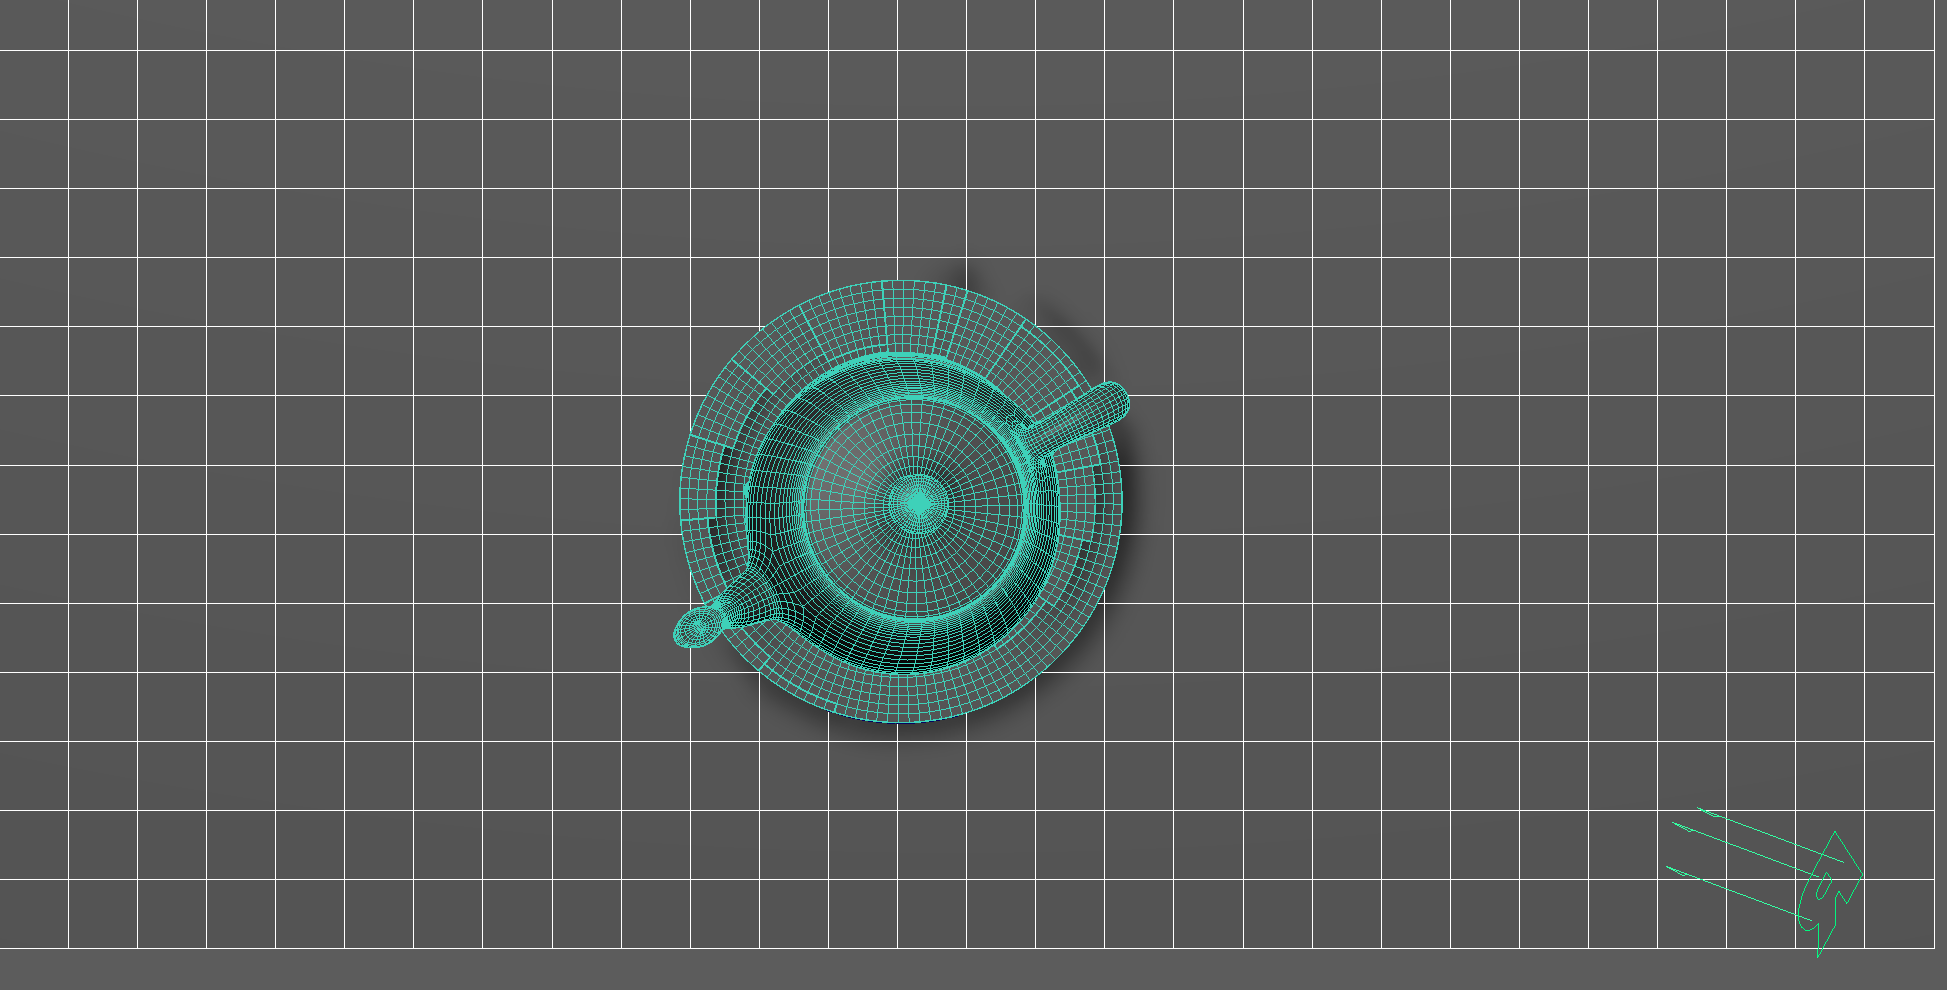
The scene setup is composed of a single light source with basic material applied for each object.
The bulk of the setup work happens in the editing for each individual PxrStylizedControl node as we’ll explain in the next section.
2. Material Setup
The thing to note in this material setup is that the shading will vary the line-work color based on the surface. This is common in crayon drawings. You’ll rarely see a uniform outline color if any outline is found in the first place. Usually the outline or line-work for crayon is done with the same color but with more intensity.
Also, the NPRalbedoAOV (which is the albedo color from the PxrStylizeControl node) is used in various hatching to vary the layering of each stroke. So rather than having the same uniform color picked up form the main albedoAOV we layer we mix with the specified colors from the PxrStylizedControl for each surface.
This setup gives us:
A main albedo color from the PxrSurface diffuse
A similar color to the albedo by slightly darkers, lighter, saturated more or less for the PxrStylizedControl albedo color.
A similar color to the albedo by slightly darkers, lighter, saturated more or less for the line albedo color.
The shading network is controlled from the PxrStylizedControl node with:
2x fractoal nodes that are used to distort the line-work on U and V.
A fractal node to control the line thickness.
A bump map is used to vary the shading zones when using PxrStylizedToon
This look doesn’t use a PxrtManifold2D as the hatching is applied in Triplanar mode for all PxrStylizedHatching filters.
For Maya I have created scripts that either plug a PxrManifold2D into an existing PxrStylizedControl or allows me to call out the attribute of PxrStylizedControl or PxrManifold2D from an object as I tweak those controls constantly while developing the looks. You can download these scripts from this github repo.
3. AOVs and LPEs
There is a single LPE AOV for the Shadow pass. This will be fed into one of the PxrStylizedLines to give outline for the shadow parts of the image.
shadowMask
A single shadows AOV to capture the shadow area from all lights.
lpe:shadows;C[DS][<L.>O]
4. Stylized Layers
The color palette for this style taken from the surface diffuse channel of each object combined with the PxrStylizedControl albedo color and line albedo color to utilize as a hatching layering variation or for controlled line color.
To achieve the crayon look the display filters are composed of the following categories layered in order:
1x PxrStylizedToon filter to produce the desired toon stepping AOV. It will be used as a signal for specific hatching filters downstream.
6x PxrStylizedHatching filters produce describe the sketching brush look
3x PxrStylizedLines filters to produce the desired line-work
These layers are showcased and described below:
0. Beauty Pass
1. PxrStylizedToon - Shading
2. PxrStylizedHatching - Crayon - Fill
3. PxrStylizedHatching - Crayon - First Stroke
4. PxrStylizedHatching - Crayon - 2nd Stroke
5. PxrStylizedHatching - Saturation Control
6. PxrStylizedHatching - Crayon - Shading
7. PxrStylizedHatching - Crayon - Shadow
8. PxrStylizedLines - Curvature
9. PxrStylizedLines - Outline distorted
10. PxrStylizedLines - Texture
Render It Out.
Once all passes are set up, you are prepared to start rendering your childhood illustrations. Happy rendering!
Preset a hit? Donate to make more!

Previous
Next