Ballpoint Pen
RenderMan Stylized Looks Presets | ComicBook
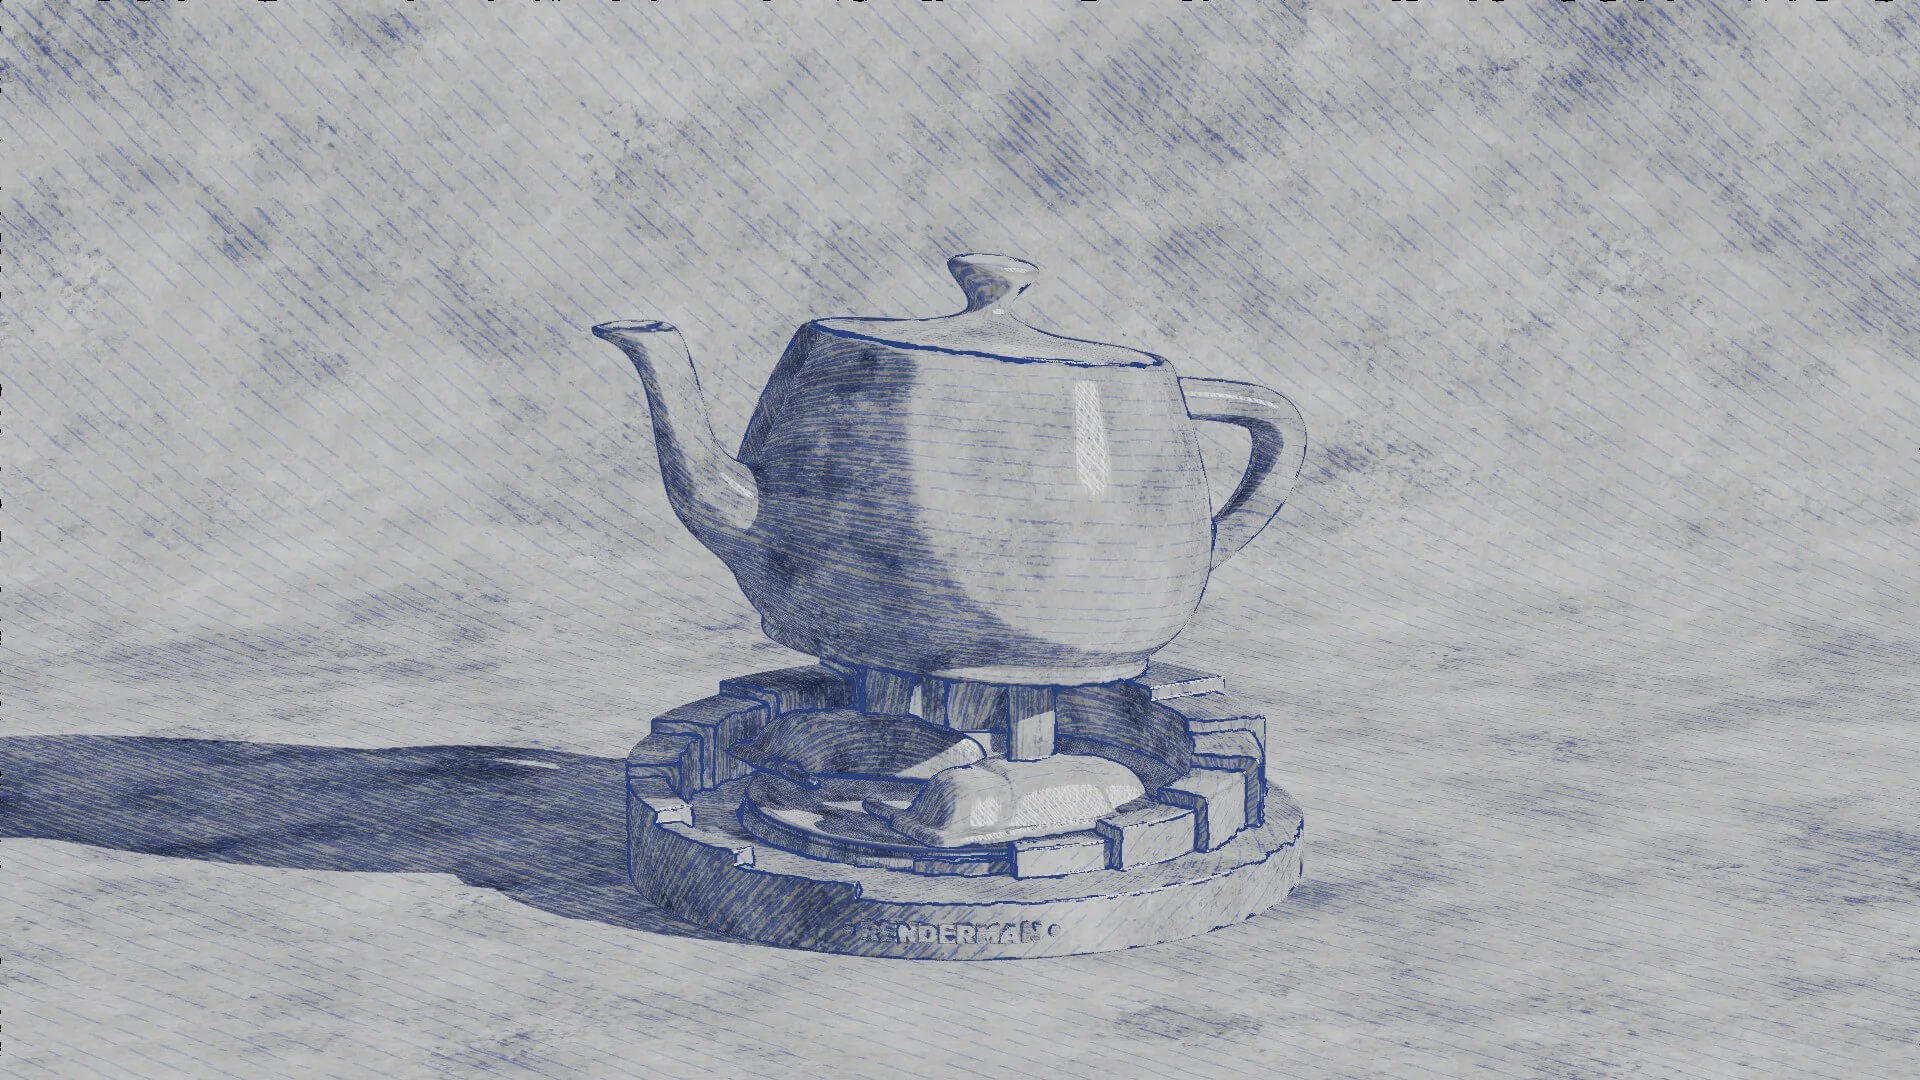
Emulates the distinctive look of ballpoint pen drawings, with its varying line widths, occasional blotches, and characteristic ink color. It evokes the sense of familiarity and nostalgia often associated with this humble tool.
1. Scene Setup

These layers were crafted using TrueGritTextureSupply Beat Tones for Affinity. This package consists of halftone brushes and a layering guide that empowers artists to have full control over the halftone creation process. Whether incorporating graduated shading or continuous tones into the artwork, Beat Tones offers a comprehensive halftone brush system comprising a wide array of halftone dot and line fills. These fills come in layerable tonal values ranging from 10% to 90%.
For this project, I developed three distinct tileable brushes and carefully selected the layerable tones based on the accompanying guide to achieve the desired overall aesthetic.
The scene setup is straightforward with minimal materials and lighting. A single light source, a distant light using the path tracer integrator with max bounces set to 0, illuminates the scene. However, the main focus lies on the display filter.
None of the colors in this scene are derived from the object's shading. Instead, they are generated by multiple hatching layers stacked on one another to achieve the desired hatching effect.
2. Material Setup
The PxrManifold arrangement along with the two fractal nodes is the standard setup for all of my stylized shading looks. And they are the standard for all of the artistic presets in this pack.
For Maya I have created scripts that either plug a PxrManifold2D into an existing PxrStylizedControl or allows me to call out the attribute of PxrStylizedControl or PxrManifold2D from an object as I tweak those controls constantly while developing the looks. You can download these scripts from this github repo.
The shading network is controlled from the PxrStylizedControl node with:
PxrManifold2D as I’ll be driving the mapping of the brushes using the surface UV, and also to fine tune the the frequency of the hatching for individual objects.
2x fractoal nodes that are used to distort the line-work on U and V.
3. AOVs and LPEs
This preset doesn’t use any additional AOVs or LPEs beside the standard Stylized Looks AOVs
4. Stylized Layers
The color palette for this style is neutral. So all surface materials share the same color without any difference in value or saturation. The color is given through the PxrStylizedHatching.
Also this look doesn’t utilize the PxrStylizedToons filter. As the stepping isn’t needed for the desired look.
To achieve the ballpoint pen look the display filters are composed of the following categories layered in order:
2x PxrStylizedHatching filters produce describe the ballpoint brush look
1x PxrStylizedLines filter to produce the desired line-work
1x PxrStylizedHatching filters specular
These layers are showcased and described below:
2. PxrStylizedHatching - Ink_Wash
3. PxrStylizedHatching - Pen
8. PxrStylizedLines - Curvature
9. PxrStylizedHatching - Specular
Render It Out.
Once all passes are set up, you are prepared to start rendering your ballpoint technical drawing or scribble. Happy rendering!


