ComicBook
RenderMan Stylized Looks Presets | ComicBook
This style perfectly emulates the bold graphic look of classic comic books or cartoons. It features flat colors, distinct outlines, and well-defined areas of shadow to create a sense of stylized dimensionality, paying homage to the iconic visuals of the medium.
1. Scene Setup

These layers were crafted using TrueGritTextureSupply Beat Tones for Affinity. This package consists of halftone brushes and a layering guide that empowers artists to have full control over the halftone creation process. Whether incorporating graduated shading or continuous tones into the artwork, Beat Tones offers a comprehensive halftone brush system comprising a wide array of halftone dot and line fills. These fills come in layerable tonal values ranging from 10% to 90%.
For this project, I developed three distinct tileable brushes and carefully selected the layerable tones based on the accompanying guide to achieve the desired overall aesthetic.
The scene setup is straightforward with minimal materials and lighting. A single light source, a distant light using the path tracer integrator with max bounces set to 0, illuminates the scene. However, the main focus lies on the display filter. Interestingly, none of the colors in this scene are derived from the object's shading. Instead, they are generated by multiple hatching layers stacked on one another to achieve the desired hatching effect.
2. Material Setup
There is an additional MatteID node plugged into each object material. This will node will allows us to produce an AOV mask that we can use in our PxrStylizedHHatching filters.
The PxrManifold arrangement along with the two fractal nodes is the standard setup for all of my stylized shading looks. And they are the standard for all of the artistic presets in this pack. I might add additional nodes such as the bump map to control the PxrStylizedToon output and various fractal or worley nodes to control the line width and line masking depending on the desired look.
For Maya I have created scripts that either plug a PxrManifold2D into an existing PxrStylizedControl or allows me to call out the attribute of PxrStylizedControl or PxrManifold2D from an object as I tweak those controls constantly while developing the looks. You can download these scripts from this github repo.
The shading network is controlled from the PxrStylizedControl node with:
PxrManifold2D as I’ll be driving the mapping of the brushes using the surface UV, and also to fine tune the the frequency of the hatching for individual objects.
2x fractoal nodes that are used to distort the line-work on U and V.
A PxrWorley is plugged in in-case we want to vary the line width of our line art.
A bump map is used to vary the shading zones when using PxrStylizedToon
3. AOVs and LPEs
The look for this preset is constructed through object masks. Every object will have a layered collection of halftone brushes applied to it. the PxrStylizedHatching will pick those from a list of predefined AOV masks. Which will then assign a specific color for each halftone filter. When combined only that object will have final halftone look.
To construct the masking I’ve utilised the PxrMatteID node and created 5x MatteID nodes in total:
MatteID0
The Teaport body geo attribute is assigned to MatteID0 as well as connecting a MatteID node to it’s utility port 1 and setting the value in each areas to pure white.
MatteID1
The Teaport lidgeo attribute is assigned to MatteID1 as well as connecting a MatteID node to it’s utility port 1 and setting the value in each areas to pure white.
MatteID2
The Teaport feet geo attribute is assigned to MatteID2 as well as connecting a MatteID node to it’s utility port 1 and setting the value in each areas to pure white.
MatteID3
The Teaport steps geo attribute is assigned to MatteID3 as well as connecting a MatteID node to it’s utility port 1 and setting the value in each areas to pure white.
MatteID4
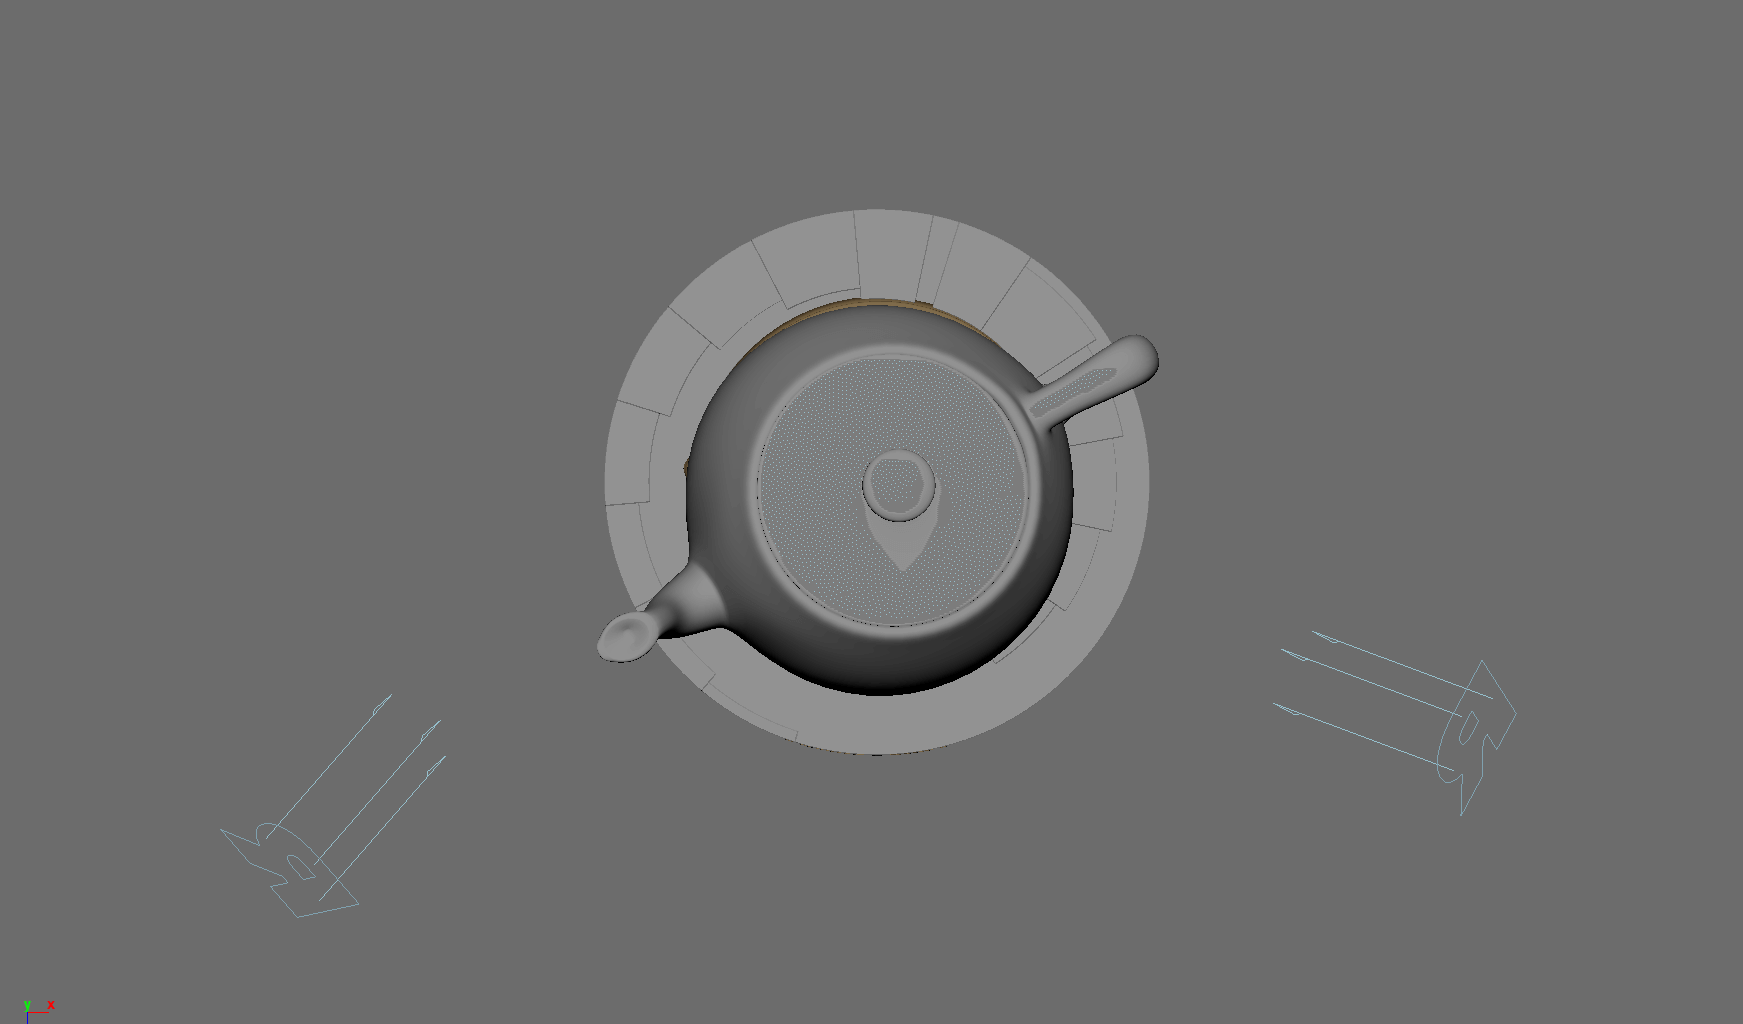
The Teaport base and logo geo attribute is assigned to MatteID0 as well as connecting a MatteID node to it’s utility port 1 and setting the value in each areas to pure white.
MatteID5
The floor geo attribute is assigned to MatteID0 as well as connecting a MatteID node to it’s utility port 1 and setting the value in each areas to pure white.
LPE Shadow
Create a regular shadow pass from all lights. Since we have only one light in the scene you don’t have to specify which light in the LPE
lpe:shadows;C[DS][<L.>O]4. Stylized Layers
The objects colors in this look do not contribute to the final look at any stage. The colors for each objects or groups of objects are assigned at the PxrStylizedHatching filter for each matteID group.
To achieve the comicbook look the display filters are composed of the following categories layered in order:
1x PxrStylizedToon filter to produce the desired toon stepping AOV. It will be used as a signal for specific hatching filters downstream.
13x PxrStylizedHatching filters produce describe the sketching brush look
1x PxrStylizedHatching for effect
4x PxrStylizedLines filters to produce the desired line-work
These layers are showcased and described below:
0. Beauty Pass
This is the beauty pass prior to activating the Stylized Looks. The colors are kept neutral as they won’t contribute to the shading of the teapot
1. PxrStylizedToon_Shading
PxrStylizedToon shading applied as a color ramp. I’m looking for two tones only, and I wanted the dark areas to have a dark blue tint.
2. PxrStylizedHatching - BODY - YELLOW
Setting the color of the hatch to pure yellow and applying as screen with the signal source being the MatteID0
3. PxrStylizedHatching - BODY - Magenta
4. PxrStylizedHatching - BODY - Cyan
5. PxrStylizedHatching - LID - YELLOW
6. PxrStylizedHatching - LID - Magenta
7. PxrStylizedHatching - FEET - Magenta
8. PxrStylizedHatching - FEET - Cyan
9. PxrStylizedHatching - STEPS - Yellow
10. PxrStylizedHatching - STEPS - Magenta
10. PxrStylizedHatching - BASE & LOGO - Yellow
11. PxrStylizedHatching - BASE & LOGO - Magenta
12. PxrStylizedHatching - BASE & LOGO - Cyan
12. PxrStylizedHatching - Overlay (floor) - Cyan
13. PxrStylizedHatching - Screen Mode - Hatching
14. PxrStylizedLines - Outline
15. PxrStylizedLines - Curvature - Pass 1
16. PxrStylizedLines - Curvature - Pass 2
167. PxrStylizedLines - Shadows
Render It Out.
Once all passes are set up, you are prepared to start rendering your comic book illustrations. Happy rendering!


