
Detailed Etch in Houdini
This style demonstrates a variety of hatching techniques used in technical drawings, blending artistic skill with technical precision to represent form and surface details.
TABLE OF CONTENTS
1. Scene Setup
Most of the presets in this pack, if not all of them, require the presence of a UV map on all the objects. If you decide to use your own scene, you can do so as long as you take into account that without a UV map present on all the objects in your scene then the preset will not function as intended and you will have a visually unpleasing result.
The template.hiplc can be downloaded from the RenderMan Resources section. the Houdini project file include the template file along with all the completed projects for each brush type. We’re going to learn how to apply the preset to a brand new scene and then you can compare your results to the completed project.
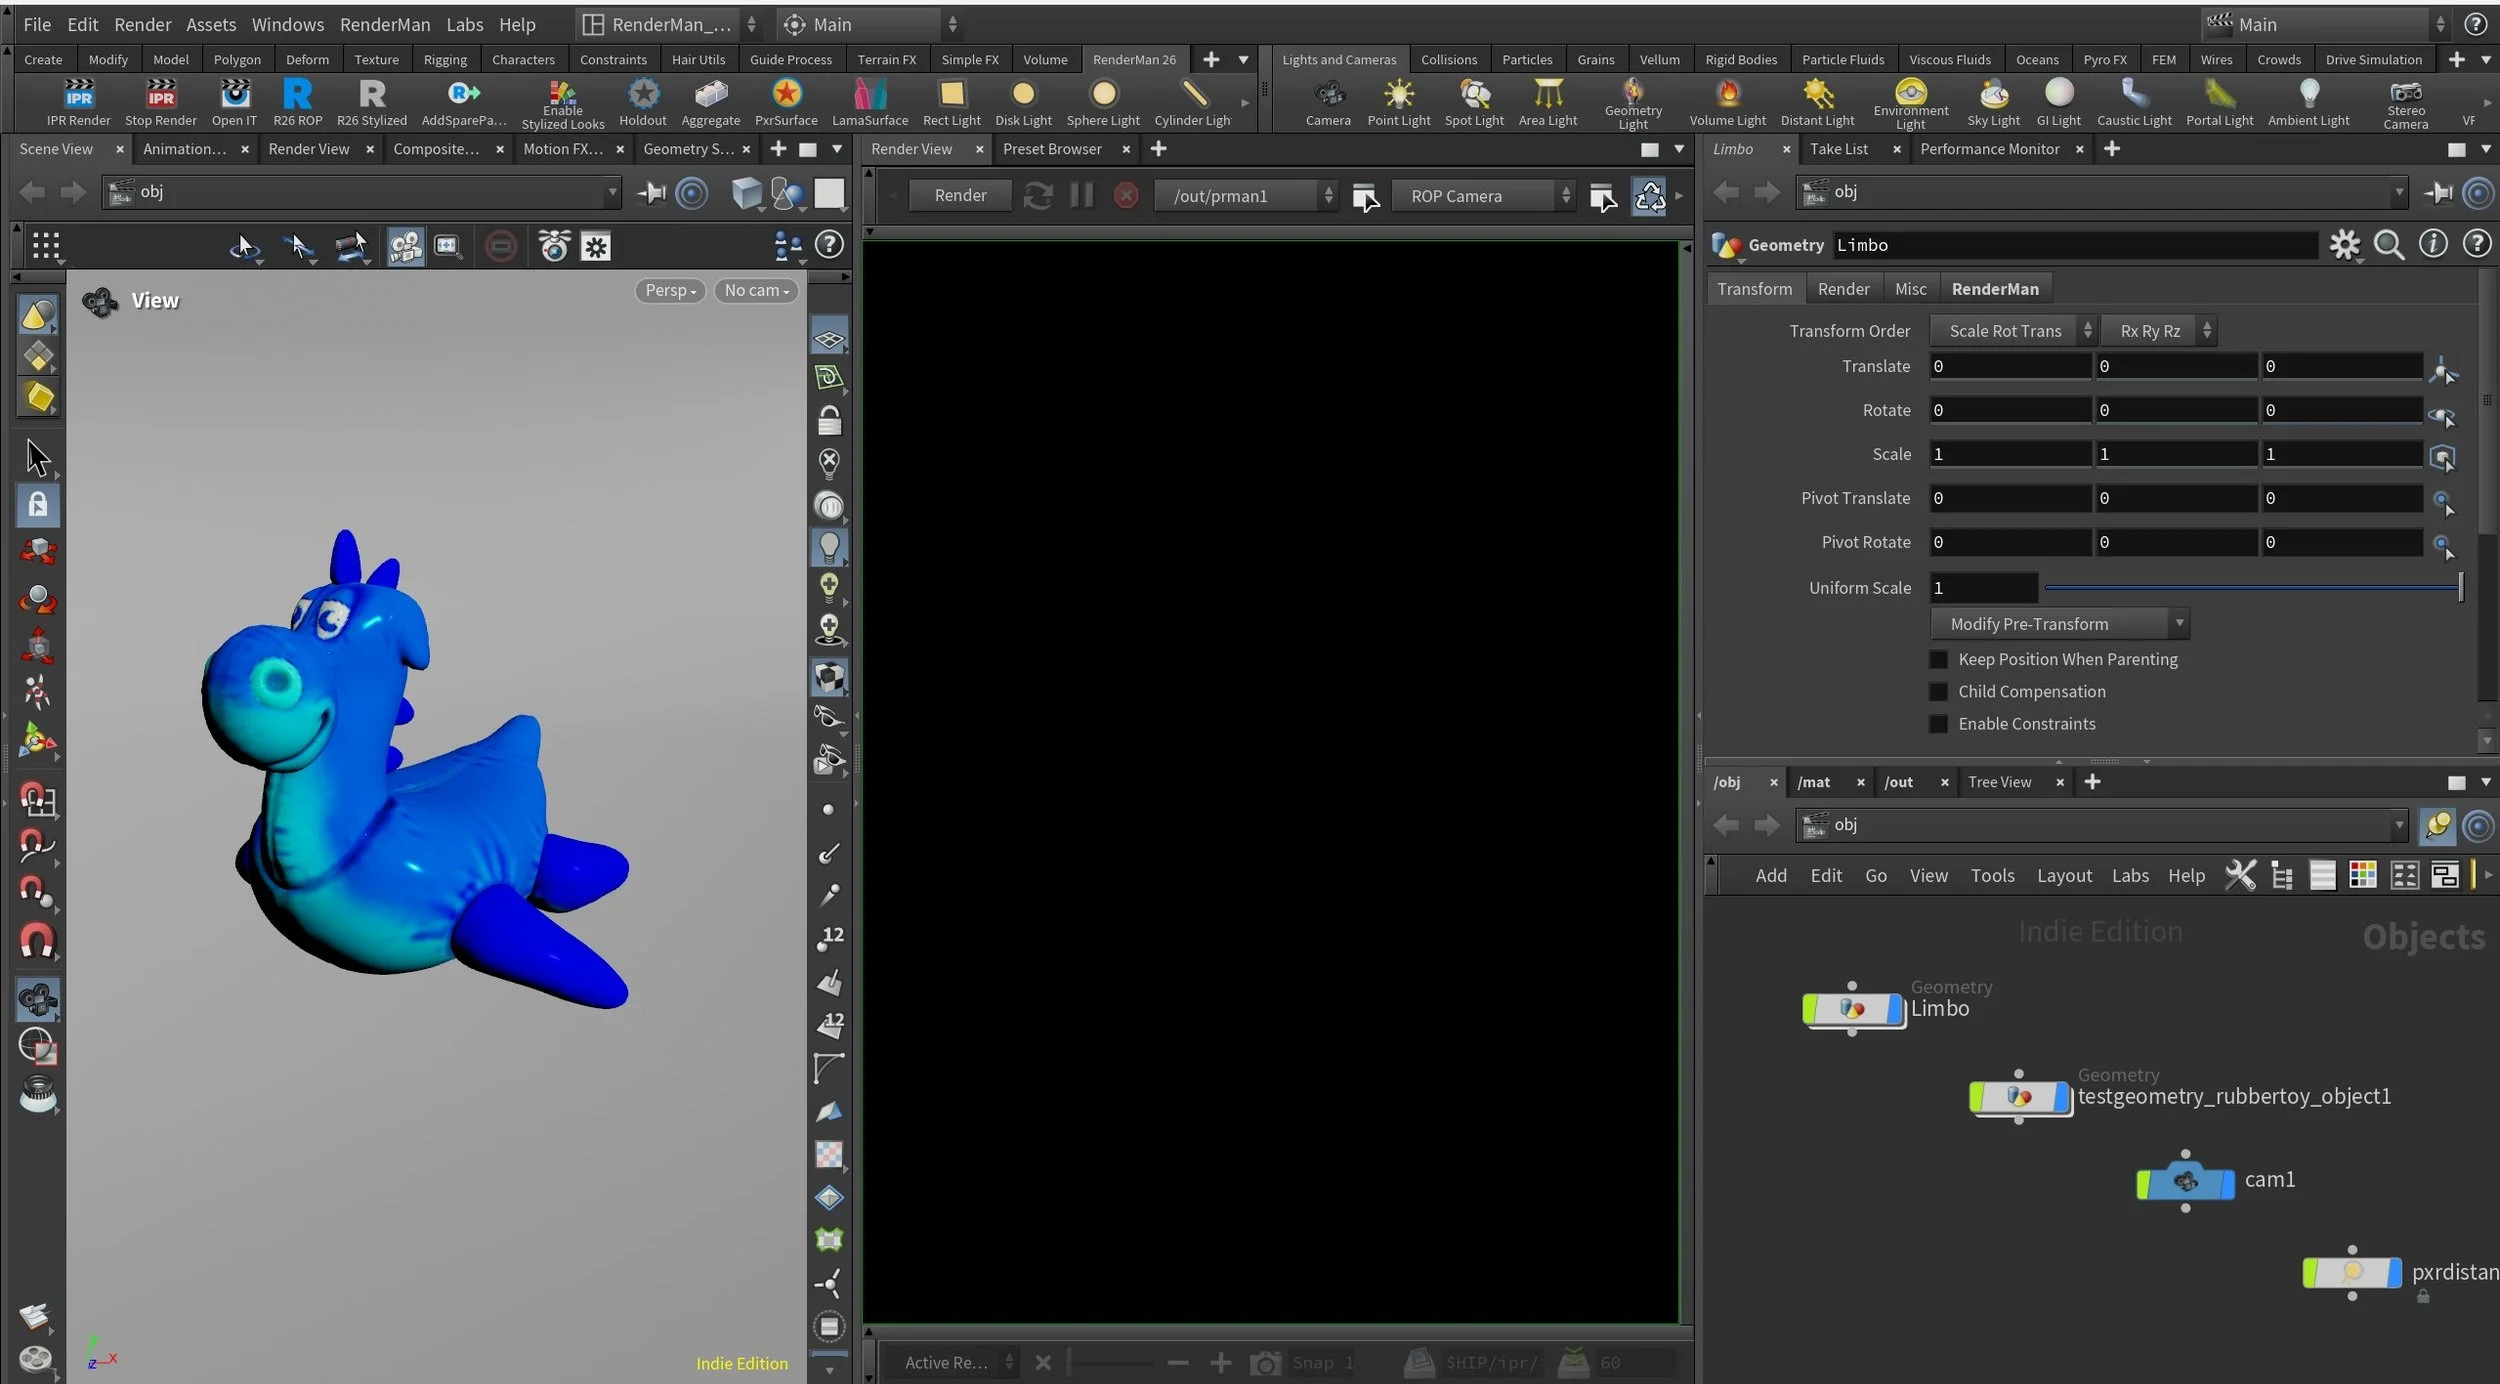
Let us explore the template scene. It consists of two objects, A RubberToy and a Cyc (a.k.a Limbo). Both objects have UVs, see not below the image.
We also have one Distant light with a direction coming from the right side. There is a camera as well.
Both objects have their own PxrSurface materials. This will not matter once we import the preset because those materials will be replaced.
Alongside a distant light the scene is set with an RIS ROP with a PathTracer Integrator. The PathTracer Integrator Max Indirect Bounces is set to 0. Both of the choice of a Distant light and setting the Max Indirect Bounces to 0 are important for the look we are after but it is not a requirement for Stylized Looks. The importance is three folds.
I tend to use sharp shadow in all of my scenes so a Distant Light is the best choice to achieve that type of shadow.
I don’t want indirect light or additional light bounces to influence my lighting. All the direct and indirect lighting manipulation happens within the Stylized Looks framework, so no need for additional lights.
The combination of both a Distant light and Max indirect bounces results in the least amount of noise to sample through or even noise around the edges of the toon stepped shading. It is not as completely noise free as using the new Artistic Toon mode, but it is around 90% there while still being physically accurate.
Load the We’ll start by loading our template.hiplc file. Set your project directory to the presets project folder and load template.hiplc.
2. Import The Preset
Time to import the preset. Select the Toy object and open a RenderMan Preset View. Select the Detailed Etch preset, right click and select Import and Assign to Selected
We’ll need to apply our preset on a single object. We’ll then make a copy of the material and apply that to the limbo object. The reason we do it only once is because the import preset mechanism in Houdini will import all the displayFilters for Stylized Looks. So if we import it twice then we’ll have two sets of each filter and that will cause the stylized looks to fail. There is currently no way to specify which parts of a Stylized Looks you want to import.
3. Apply Limbo Material
With the preset imported we are going to apply a second copy of our main material to the Limbo object.
You might be asking why do we need to copy the material on the limbo instead of creating a new one? or Why don’t we apply the same material of the toy object to the limbo? We’ll explore those questions and in the process we’ll learn a little bit on how Stylized Looks work and how shading networks setup work.
Why don’t we keep the current Limbo material or create a new one? The short answer to this is that for a material to function properly, really it is about having the displayFilters recognize the object and apply the Stylized Looks, then we need a certain setup added to the main surface of the object. By copying the material we have a starting point to go from with all the required material connection in place.
Stylized Looks doesn't mess with your original surface, so you can keep your existing shading networks. But to make it work, you need to add a PxrStylizedControl to the Utilities pattern of the surface. This won't break anything as the utilities pattern is like an auxiliary channel, and it lets you control the stylized look for each object separately. If you want to add more shading nodes to change the stylized look, do it on the PxrStylizedControl.
Why not use the same material as the one applied to the Toy object? The object UV size and object size determines the brush size. So we need separate values to tweak on an object by object level. Also, we sometimes we need different albedo color value for each object. This is way we give each object it’s own material.
For this preset the albedo or diffuse color is the same across all objects. However we need to tweak the PxrManifold2D that is connected to the PxrStylizedcontrol for the Limbo as well as change the Triplanar Scale values for the Limbo object. We’ll deal with those changes in step No.7.
4. ROP Setup
Up to this point we haven’t said much about the ROP setup and the rendering requirements. We’’re going to address that right now. If you are using the presets in this pack then this following step is going to be the same for all.
The template.hiplc file include an RIS ROP already setup. This ROP is configured to use a PathTracer as an integrator.
The PathTracer is configured to have 0 Max Indirect Bounces. This is important as it will be the equivalent to using PxrDirectLighting as an integrator, so our renders will be noise free, or minimal noise. But with a PathTracer we will have access to additional AOVs and LPEs which we don’t have access to in PxrDirectLighting.
However, when we import any Stylized Looks presets the preset browser will generate a new ROP for our scene. This ROP will have a direct connection to all the Stylized Looks displayFilters that make up the preset with the order they are intended to be used. So what I would do usually is to copy the path of our PathTracer integrator from the template ROP node to our new Preset ROP and delete the template one. So we end up with only a single ROP file in our project.
That is step 1 completed. We have a new ROP in our scene, it includes links to our displayFilters and it has our preconfigured PathTracer brought over.
Now for step 2. We must activate Stylized Looks in our ROP. This is not accomplished by pressing a single button, but require a collection of AOVs to be enabled. The list is quite long and it tends to take a minute or two to do. Instead of doing it by hand I have prepared a simple script that does that for you.
You can download the script from this github repo. Once downloaded, you can add it to any shelf as a button. I did mine inside of the RenderMan shelf, gave it the name “Enable Stylized Looks” and even gave it an icon.
RECAP
Before we move forward, let us recap what have we done so far, as these steps are pretty similar for all the presets in this pack. Any difference will be an additional light added to the template.hiplc projct and/or an additional AOVs that need to be present. But for all the presets the steps are as following:
Make sure you have a scene with UV maps
Have at least one PxrDistantLight as your main source light.
Apply the preset to your main object, or one object in the scene.
Make copies of the material and assign those copies to each object in your scene.
Copy the existing Pathtracer Integrator to the new preset ROP
Run the AOV script while selecting the prest ROP to create the default AOVs required by the Stylized Looks.
Can you use a PxrRectLight instead of a PxrDistantLight with Stylized Looks? You certainly can. And there is no rule that says you shouldn’t. But in my work, and this is a personal preference, I tend to use a PxrDistantLight because:
A it resolves faster. Meaning I don’t need many samples
I like my objects to have sharp shadows.
Works really well with a PathTracer Integrator with 0 Max Indirect Bounces. Again, less samples to work and much faster rendertimes.
5. Initial Render
Alright, we’ve done the steps are we are ready to hit that render button. So go ahead and render. Remember, we only applied the preset material and created the required AOVs. We haven’t done any tweaking to the scene materials or the Stylized Looks displayFilter, so expect the result to be…meh if not awful. Luckily the steps to rectify this initial look is easy and it will be a good introduction on how Stylized Looks works.
6. Tweaking Values
Ok! So that doesn’t look good. Let me explain what is happening here and how to resolve them. You’ll find that for almost all presets this will be the same one way or another. It might not be required in your scene, but in this scene the Limbo object UV scale is quite different than the Toy object so there is a noticeable difference.
There are many displayFilters in this presets. We can break them down to different categories based on their function in the styling process:
2x PxrStylizedHatching filters produce, or describe the sketching brush look
2x PxrStylizedLines filters to produce the desired line-work
1x PxrStylizedHatching filters for effects
Right now we’re interested in fixing the PxrManifold2D for the Limbo object to get the desired look.
1. Increase PxrManifold2D for Limbo:
I’ll start with the Limbo object for the MAIN Etch brush or hatching. Go into the material applied to the LIMBO object and find the PxrManifold2D node that is connected to the PxrStylizedControls node. There should be one in this preset, and it is usually connected to the Hatching Projection. So if you have more than one PxrManifold2D always check the one connected to the Hatching Project and this would be the one you want to tweak.
In the frequency S and T change the default of 20 to be 50 or 60. You can do a test render to see what effect that will have on our Limbo object. I went ahead with 60 for both S and T to match the Toy Object which I like the size of the etch streaks.
Congratulations!
You’ve made it through and you’ve done your first Stylized Looks render. 🎉
These steps might have seamed like a lot. And they are if you just started using Stylized Looks. As you gain more proficiency with Stylized Looks you’ll be able to set this up quiet quickly. And most of the presets aren’t that involved and will load out of the box, so instead of 7 steps they would be 4 steps. Tweaking the hatching values will always be required, so this long tour is necessary so you know how to get the most out of these presets and to learn how to tweak the stylized looks for your own project.
The image below is a slight variation of the Detailed Etch. For this I removed the canvas background from both Etch hatch filters. the Floor diffuse color had it’s value increase closer to 1, so it is much brighter. And for the main Etch I’ve replaced Brush 6, 7 and 8 with equivalent brushes from the Scruppy Pen brush pack. And the Projection was changed to be Triplanar. You can find the completed project file in the project folder named Detailed_Etch_Variation.hiplc.
Don’t be afraid to experiment and break things 😉
Preset perfection? Show your appreciation!

Back