
Sketching
RenderMan Stylized Looks Presets | Sketching
This style renders your artwork with a quick, minimalist pencil sketch. It features loose, expressive lines, likely with varying thicknesses, and minimal shading, emphasizing the essential form of the subject with a clean, uncluttered aesthetic.
1. Scene Setup
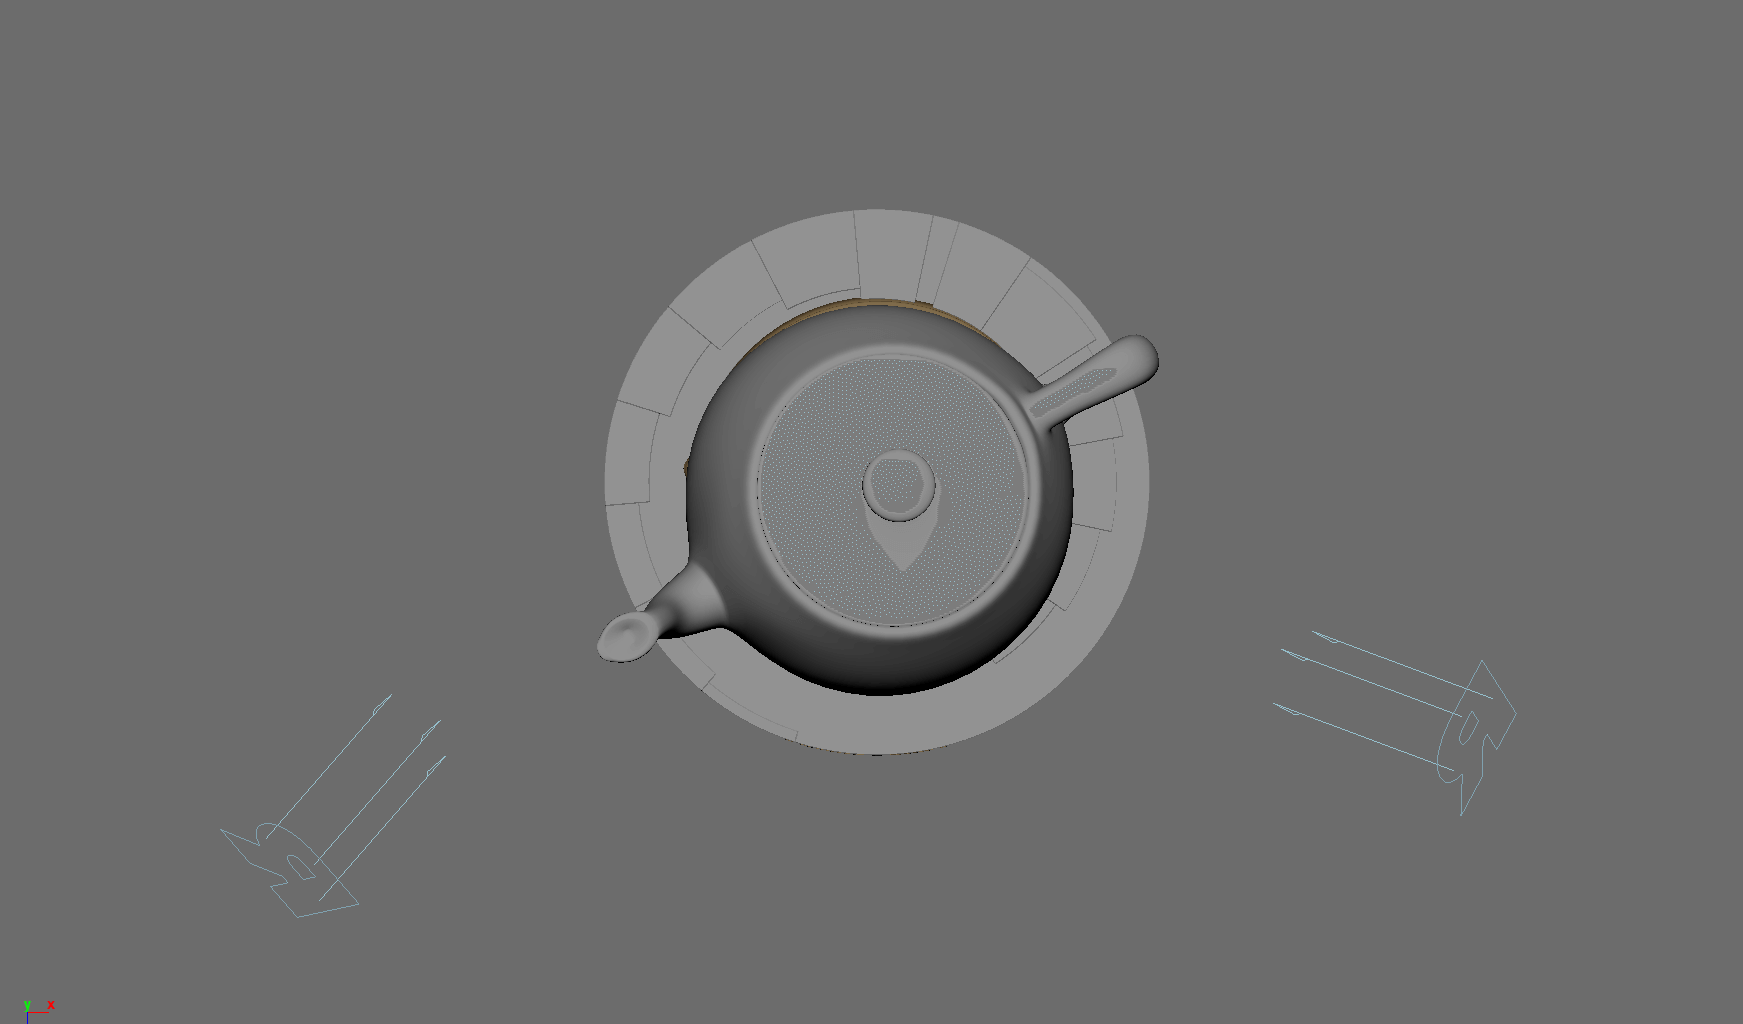
The scene setup is composed of a single light source with basic material applied for each object.
The bulk of the setup work happens in the editing for each individual PxrStylizedControl node as we’ll explain in the next section.
2. Material Setup
The PxrManifold arrangement along with the two fractal nodes is the standard setup for all of my stylized shading looks. And they are the standard for all of the artistic presets in this pack. I might add additional nodes such as the bump map to control the PxrStylizedToon output and various fractal or worley nodes to control the line width and line masking depending on the desired look.
For Maya I have created scripts that either plug a PxrManifold2D into an existing PxrStylizedControl or allows me to call out the attribute of PxrStylizedControl or PxrManifold2D from an object as I tweak those controls constantly while developing the looks. You can download these scripts from this github repo.
The shading network is controlled from the PxrStylizedControl node with:
PxrManifold2D as I’ll be driving the mapping of the brushes using the surface UV, and also to fine tune the the frequency of the hatching for individual objects.
2x fractoal nodes that are used to distort the line-work on U and V.
A PxrWorley is plugged in in-case we want to vary the line width of our line art.
A bump map is used to vary the shading zones when using PxrStylizedToon
3. AOVs and LPEs
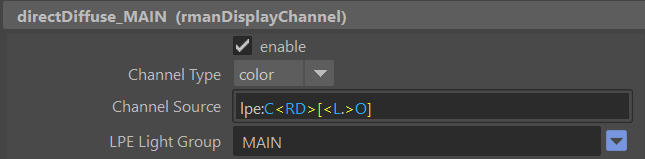
The AOV setup is quite simple. I’ve assigned on light to the MAIN LPE group, and the other one to the EDGE LPR light group. Once you add a directDiffuse AOV and pick the light group MAIN for instance, then RenderMan will name the AOV directDiffuse_MAIN. There are 4 AOVs in total, two for the MAIN light and two for EDGE light.
directDiffuse_MAIN
Once the main light is given the name MAIN in the LPR light group. Create a directDiffuse AOV and pick the light group name. This will name the AOV accordingly.
directSpecular_MAIN
Once the main light is given the name MAINin the LPR light group. Create a directSpecular AOV and pick the light group name. This will name the AOV accordingly.

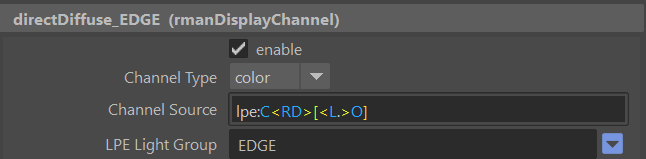
directDiffuse_EDGE
Once the main light is given the name EDGE in the LPR light group. Create a directDiffuse AOV and pick the light group name. This will name the AOV accordingly.
directSpecular_EDGE
Once the main light is given the name EDGE in the LPR light group. Create a directSpecular AOV and pick the light group name. This will name the AOV accordingly.

4. Stylized Layers
The color palette for this style is Beige. So all surface materials share the same color without any difference in value or saturation.
To achieve the sketching look the display filters are composed of the following categories layered in order:
1x PxrStylizedToon filter to produce the desired toon stepping AOV. It will be used as a signal for specific hatching filters downstream.
4x PxrStylizedHatching filters produce describe the sketching brush look
2x PxrStylizedLines filters to produce the desired line-work
1x PxrStylizedHatching filters for effects
These layers are showcased and described below:
0. Beauty Pass
This is the Beauty pass for the render without applying any Stylized Filters.
For this Style the beauty pass is important as the colours used in the presets are read from this Beauty pass.
We will be using the specular lighting in the Stylized Looks preset development. But we want individual control. Which is why we have sperate directDiffuse, directSpecular from each light. As such we’ll be using those AOVs instead of the Beauty pass.
1. PxrStylizedToon - Shading
The PxrStylizedToon layer has control over aspects like toon stepping, range, and softness, which directly affect the downstream nodes. I prefer to set these attributes as the base.
We have narrowed down the light source to only one light. This is represented by the directDiffuse_MAIN setting. For our purposes, we are not concerned with the final beauty pass or the colors. We will be focusing solely on the resulting AOV NPRtoonOut, which carries the information we need.
To inspect the NPRtoonOut channel, expand the channels in the IT rendering. At this point, noise in the render and AOV is not a concern. This will be addressed later when we incorporate the shading downstream, at which point the range and gamma will be adjusted to eliminate the noise's impact.
2. PxrStylizedHatching - Fill
The initial PxrStylizedHatching layer serves as a canvas to painting over. It transforms the entire image into a homogeneous color canvas, providing a foundation for subsequent coloring.
Keep in mind that this is a personal workflow, and there's no one-size-fits-all approach to creating stylized looks. The Fill or Primer layer is a recurring element in most, if not all, of my presets. I encourage you to experiment and develop your style to find what works best for you.
3. PxrStylizedHatching - Fill Color Multiplier
In this layer, we are trying to increase the canvas colour. The colours are derived from the albedo AOV, which lacks inherent shading. We utilize the signal energy (lighting response layer) to drive the Beauty pass, determining which areas are dark and which are light.
Our current Beauty pass encompasses all the lighting and shading up to layer #2. To gain a deeper understanding of Stylized Looks, try disabling the PxrStylizedHatching - Fill layer while keeping this layer and the PxrStylizedToon only. By doing so, you can observe the effect of reading from a beauty channel that resembles the diffuse and how the Fill layer plays its role in this preset.
4. PxrStylizedHatching - Etch
Utilising lighting information from the same signal directDiffuse_MAIN we paid our first brush on the objects. The effect is soft and the shadows are not that dark because of upstream PxrStylizedHatching filter amending the canvas which this layer will composite with.
If you look at the input remap
5. PxrStylizedHatching - Dashed
The second hatching brush with a different texture directDiffuse_EDGE. This is composited on top fo the previous ones as a multiply operation. Dialing the mix value you can control how dark or soft you want the shadows to be.
6. PxrStylizedLines - Curvature
I like to start with a curvature line as the base layer for most of my work, it captures almost all necessary details that I want. On the right is the lines alpha for the curvature.
7. PxrStylizedLines - Definition
Some of the back details for the outline can be retrieved by using a sections line. the line on it’s own produces this alpha.
Once the two are daisy chained we can guarantee that we have line works across all required parts of the image.
8. PxrStylizedHatching - LINE Texture
This hatching filter is similar to the 3 hatching filter. However we are directly sourcing the NPRlineOut as a signal source as we’re going to be using that as a means to give some hatching pattern over our linework.
Render It Out.
Once all passes are set up, you are prepared to start rendering your childhood illustrations. Happy rendering!
Preset perfection? Show your appreciation!

Previous
Next