Shaded Toon
RenderMan Stylized Looks Presets | Shaded Toon
comiThis style achieves a bold, graphic look reminiscent of comic books or animation, grabbing the viewer's attention with its use of flat colors, distinct shadows, and simplified forms.ng Soon
1. Scene Setup

These layers were crafted using TrueGritTextureSupply Beat Tones for Affinity. This package consists of halftone brushes and a layering guide that empowers artists to have full control over the halftone creation process. Whether incorporating graduated shading or continuous tones into the artwork, Beat Tones offers a comprehensive halftone brush system comprising a wide array of halftone dot and line fills. These fills come in layerable tonal values ranging from 10% to 90%.
For this project, I developed three distinct tileable brushes and carefully selected the layerable tones based on the accompanying guide to achieve the desired overall aesthetic.
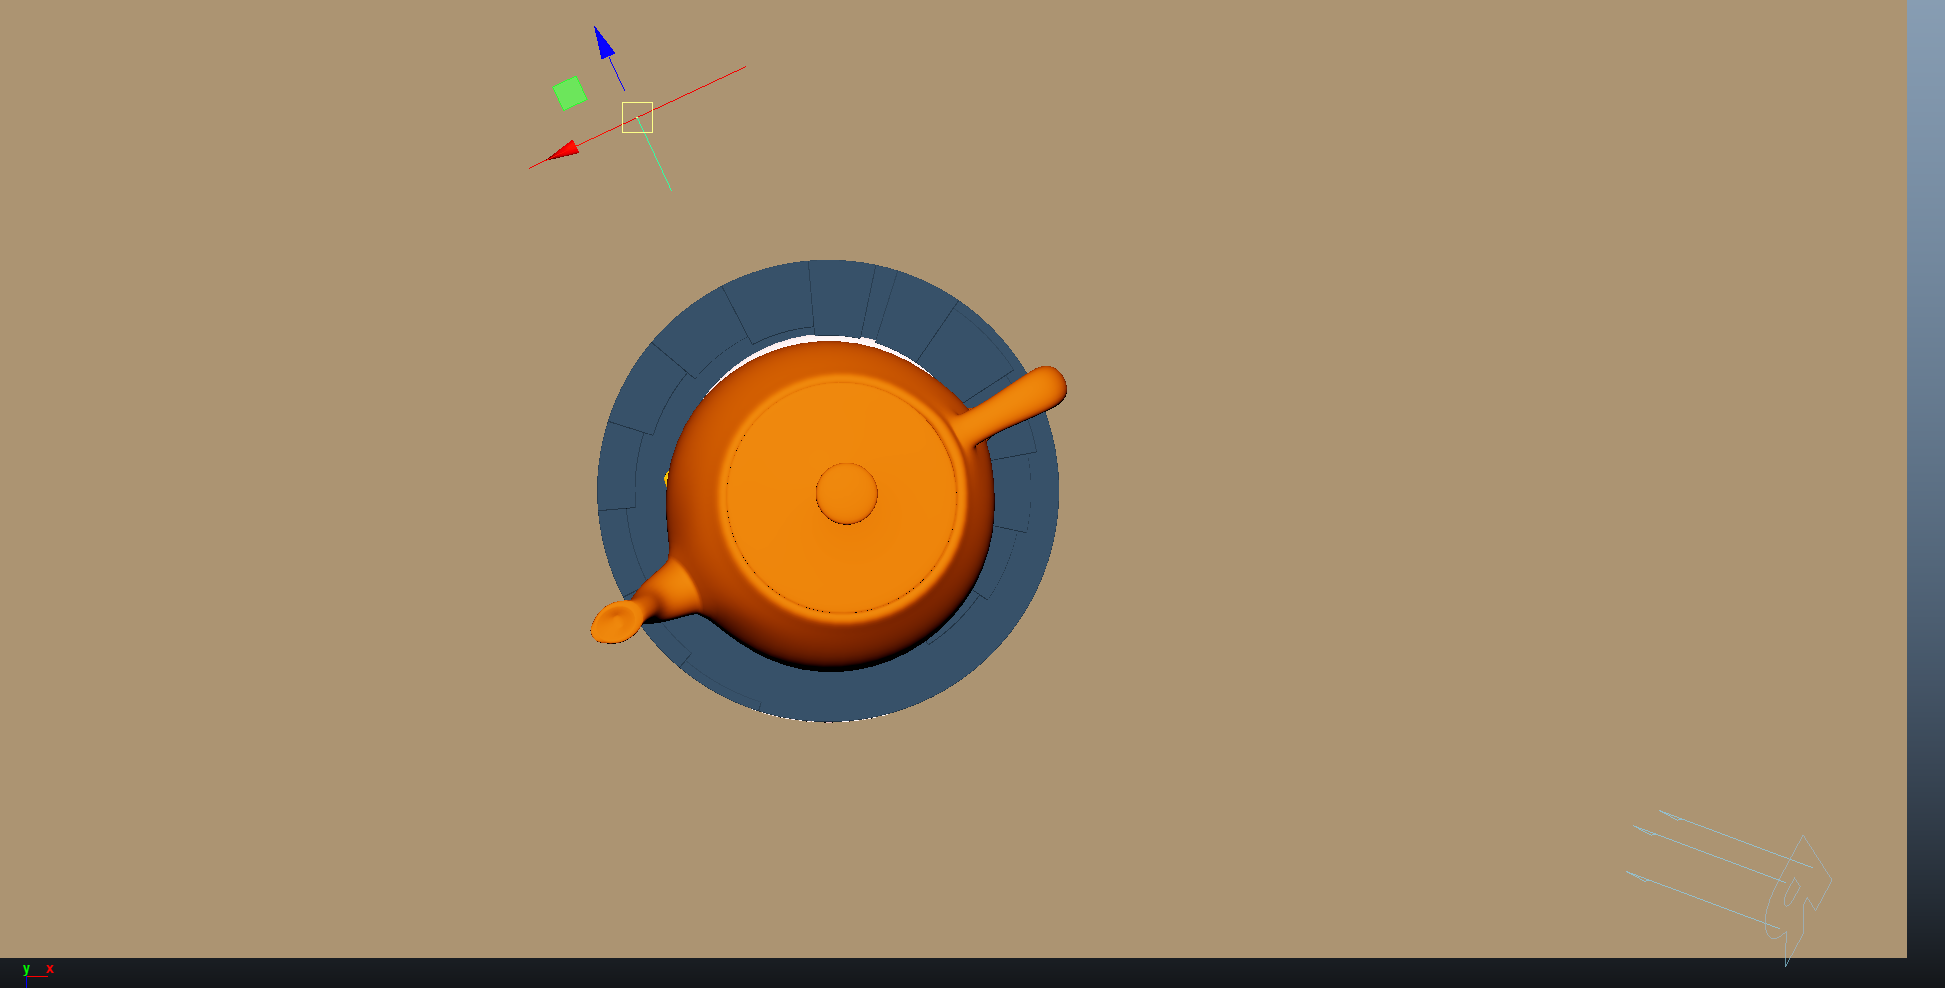
The scene setup is straightforward with minimal materials and lighting. A single light source, a distant light using the path tracer integrator with max bounces set to 0, illuminates the scene. However, the main focus lies on the display filter. Interestingly, none of the colors in this scene are derived from the object's shading. Instead, they are generated by multiple hatching layers stacked on one another to achieve the desired hatching effect.
2. Material Setup
The PxrManifold arrangement along with the two fractal nodes is the standard setup for all of my stylized shading looks. And they are the standard for all of the artistic presets in this pack. I might add additional nodes such as the bump map to control the PxrStylizedToon output and various fractal or worley nodes to control the line width and line masking depending on the desired look.
For Maya I have created scripts that either plug a PxrManifold2D into an existing PxrStylizedControl or allows me to call out the attribute of PxrStylizedControl or PxrManifold2D from an object as I tweak those controls constantly while developing the looks. You can download these scripts from this github repo.
The shading network is controlled from the PxrStylizedControl node with:
PxrManifold2D as I’ll be driving the mapping of the brushes using the surface UV, and also to fine tune the the frequency of the hatching for individual objects.
2x fractoal nodes that are used to distort the line-work on U and V.
A PxrWorley is plugged in in-case we want to vary the line width of our line art.
A bump map is used to vary the shading zones when using PxrStylizedToon
3. AOVs and LPEs
The AOV setup is quite simple. I’ve assigned on light to the MAIN LPE group, and the other one to the EDGE LPR light group. Once you add a directDiffuse AOV and pick the light group MAIN for instance, then RenderMan will name the AOV directDiffuse_MAIN. There are 4 AOVs in total, two for the MAIN light and two for EDGE light.
directDiffuse_MAIN
Once the main light is given the name MAIN in the LPR light group. Create a directDiffuse AOV and pick the light group name. This will name the AOV accordingly.

directSpecular_MAIN
Once the main light is given the name MAINin the LPR light group. Create a directSpecular AOV and pick the light group name. This will name the AOV accordingly.

directDiffuse_EDGE
Once the main light is given the name EDGE in the LPR light group. Create a directDiffuse AOV and pick the light group name. This will name the AOV accordingly.

directSpecular_EDGE
Once the main light is given the name EDGE in the LPR light group. Create a directSpecular AOV and pick the light group name. This will name the AOV accordingly.

shadowMask
A single shadows AOV to capture the shadow area from all lights.
lpe:shadows;C[DS][<L.>O]
4. Stylized Layers
The color palette for this style is Beige. So all surface materials share the same color without any difference in value or saturation.
To achieve the sketching look the display filters are composed of the following categories layered in order:
1x PxrStylizedToon filter to produce the desired toon stepping AOV. It will be used as a signal for specific hatching filters downstream.
4x PxrStylizedHatching filters produce describe the sketching brush look
3x PxrStylizedLines filters to produce the desired line-work
These layers are showcased and described below:
0. Beauty Pass
1. PxrStylizedToon - Shading
2. PxrStylizedHatching - Flat Color
3. PxrStylizedHatching - Toon Shading
4. PxrStylizedHatching - Specular Direct
5. PxrStylizedHatching - Rim
6. PxrStylizedLines - Shadow
7. PxrStylizedLines - Curvature
8. PxrStylizedLines - NZLine
Render It Out.
Once all passes are set up, you are prepared to start rendering your childhood illustrations. Happy rendering!


