Pencil
RenderMan Stylized Looks Presets | Pencil
Replicates the classic look of a graphite pencil sketch, showcasing the expressive potential of the medium. It likely features varying line weights, subtle shading using hatching or smudging techniques, and a sense of texture that evokes the feel of paper.
1. Scene Setup

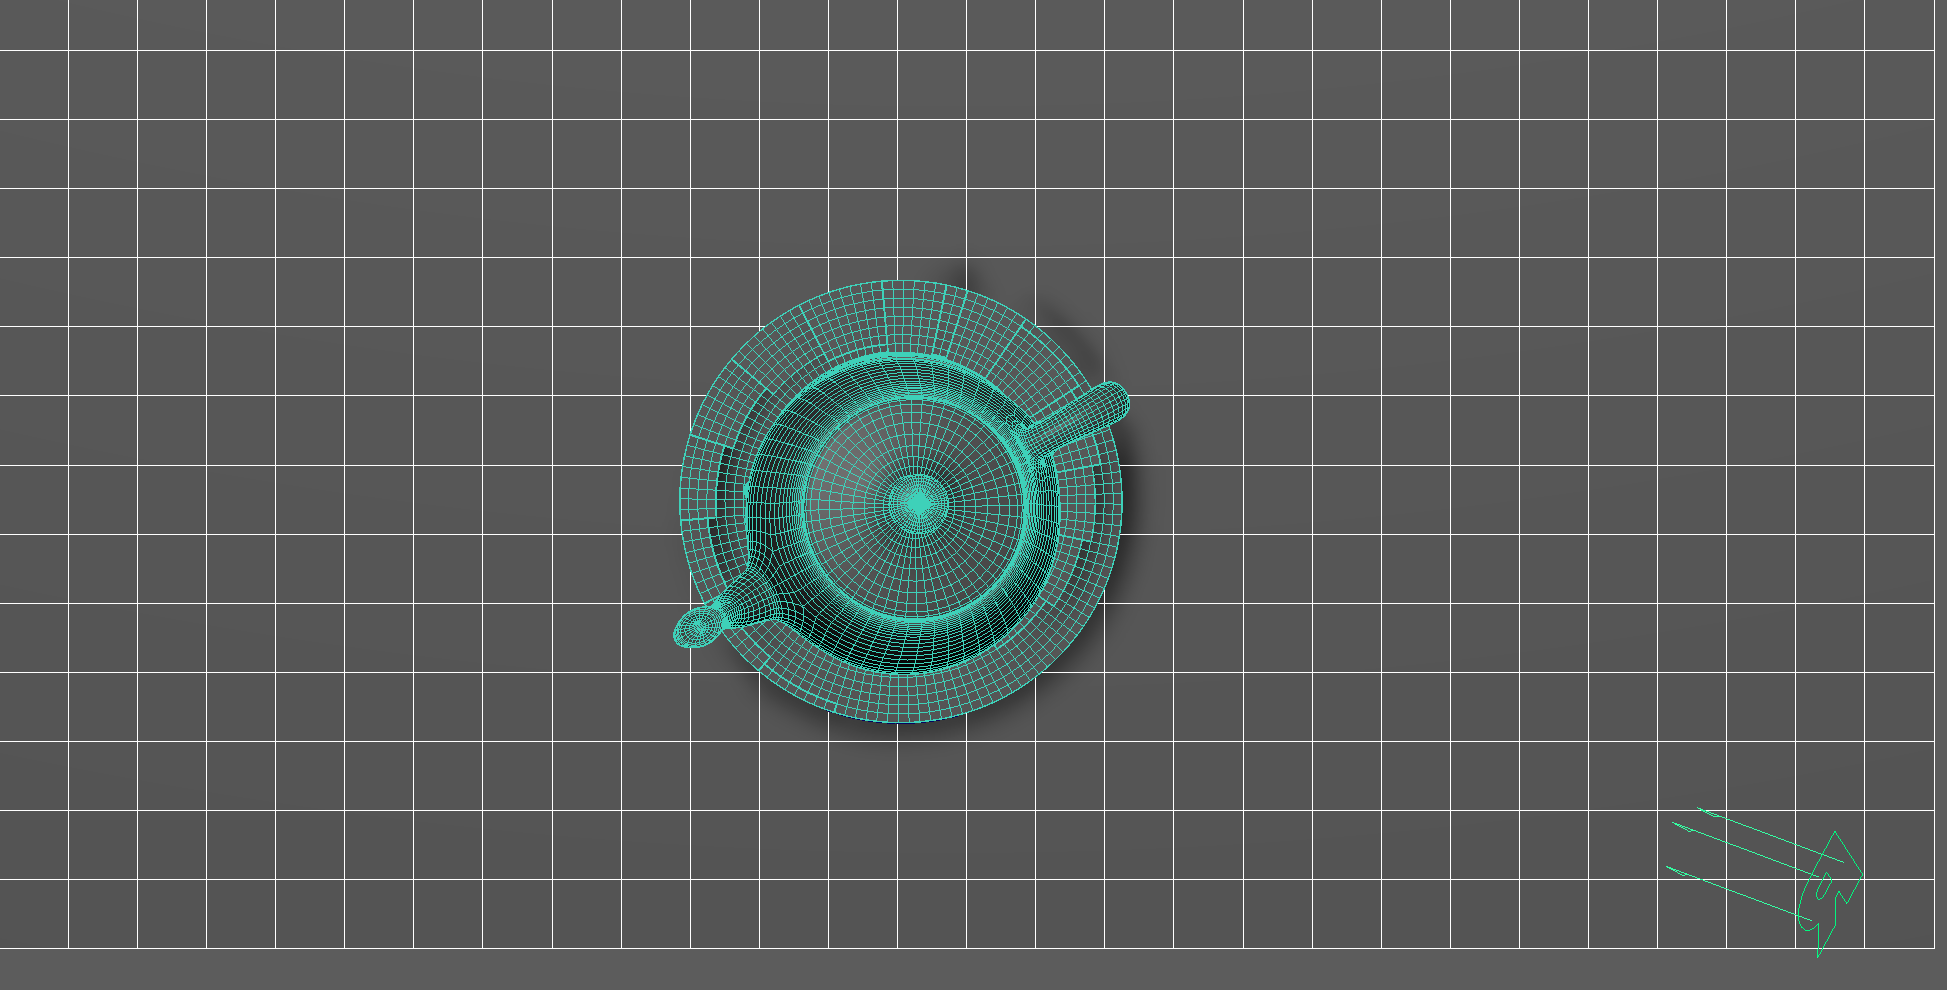
The scene setup is composed of a single light source with basic material applied for each object.
2. Material Setup
The PxrManifold arrangement along with the two fractal nodes is the standard setup for all of my stylized shading looks. And they are the standard for all of the artistic presets in this pack. I might add additional nodes such as the bump map to control the PxrStylizedToon output and various fractal or worley nodes to control the line width and line masking depending on the desired look.
For Maya I have created scripts that either plug a PxrManifold2D into an existing PxrStylizedControl or allows me to call out the attribute of PxrStylizedControl or PxrManifold2D from an object as I tweak those controls constantly while developing the looks. You can download these scripts from this github repo.
The shading network is controlled from the PxrStylizedControl node with:
PxrManifold2D as I’ll be driving the mapping of the brushes using the surface UV, and also to fine tune the the frequency of the hatching for individual objects.
2x fractoal nodes that are used to distort the line-work on U and V.
A PxrWorley is plugged in in-case we want to vary the line width of our line art.
A bump map is used to vary the shading zones when using PxrStylizedToon
3. AOVs and LPEs
There is a single LPE AOV for the Shadow pass. This will be fed into one of the PxrStylizedLines to give outline for the shadow parts of the image.
4. Stylized Layers
The color palette for this style is Beige. So all surface materials share the same color without any difference in value or saturation.
To achieve the sketching look the display filters are composed of the following categories layered in order:
1x PxrStylizedToon filter to produce the desired toon stepping AOV. It will be used as a signal for specific hatching filters downstream.
3x PxrStylizedHatching filters produce describe the sketching brush look
2x PxrStylizedLines filters to produce the desired line-work
These layers are showcased and described below:
0. Beauty Pass
1. PxrStylizedToon - Shading
2. PxrStylizedHatching - Ink Wash
3. PxrStylizedHatching - Pencil
4. PxrStylizedHatching - Shadows
5. PxrStylizedLines - Curvature
6. PxrStylizedLines - Over
Render It Out.
Once all passes are set up, you are prepared to start rendering your childhood illustrations. Happy rendering!


